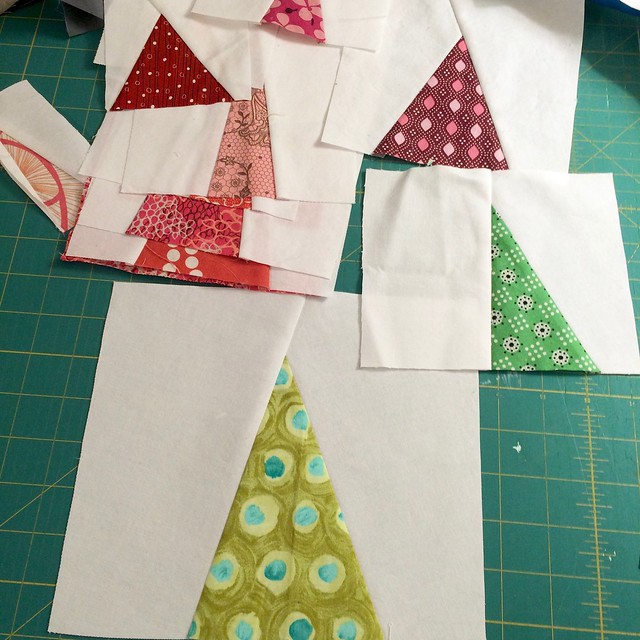
I sat down to sew again last night. I have been out of the sewing routine and it is surprisingly hard to get started on my ongoing projects. So I just decided to make a few green improv trees with my green scraps. Improv is my go to when I just need to play.
And, as I sewed, I clicked off some photos to make a quick tutorial. This is how I make the these improv trees, in case you want to make some too. They are easy and relaxing to make, a good introduction to improv if you are hesitant to let go of measuring.
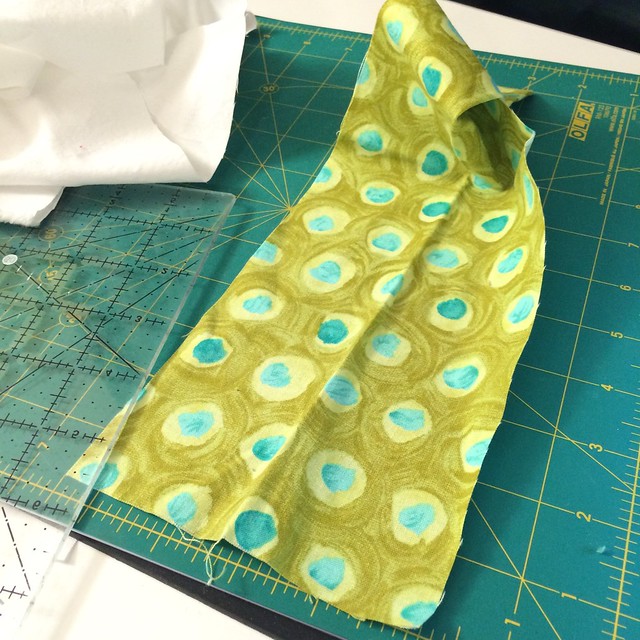
Pick out a scrap and some background fabric.

Cut it into a triangle shape that pleases you. For trees I use my ruler to cut but you can cut it freehand if you prefer. I don't measure at all, I just cut.
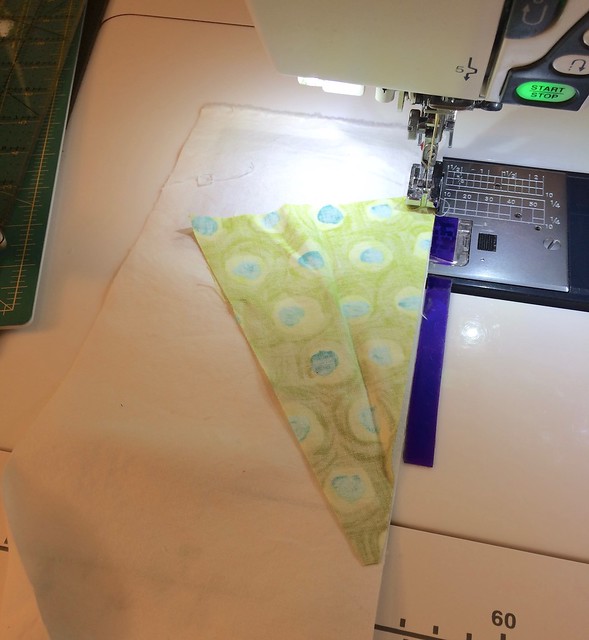
I cut my background fabric into long strips, but scraps will do too. Line your triangle up with one side, right sides together and sew. Leave a bit of the background at the bottom of the triangle (the top part of the photo so that you don't have to trim off so much of the tree later.
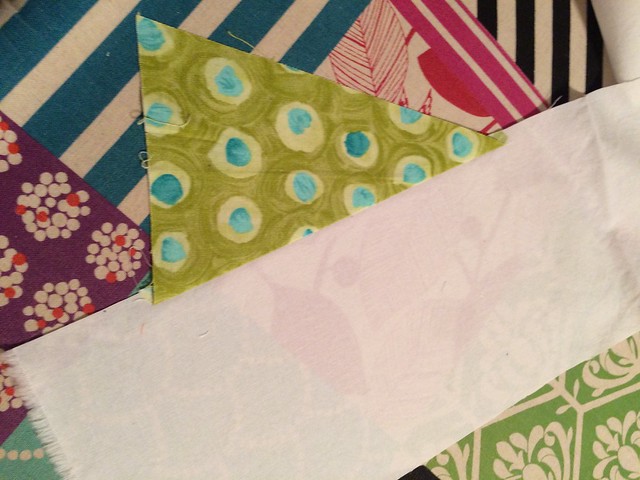
Press the tree open. Use whatever kind of seam you like, to the side, open and to whatever side you prefer.
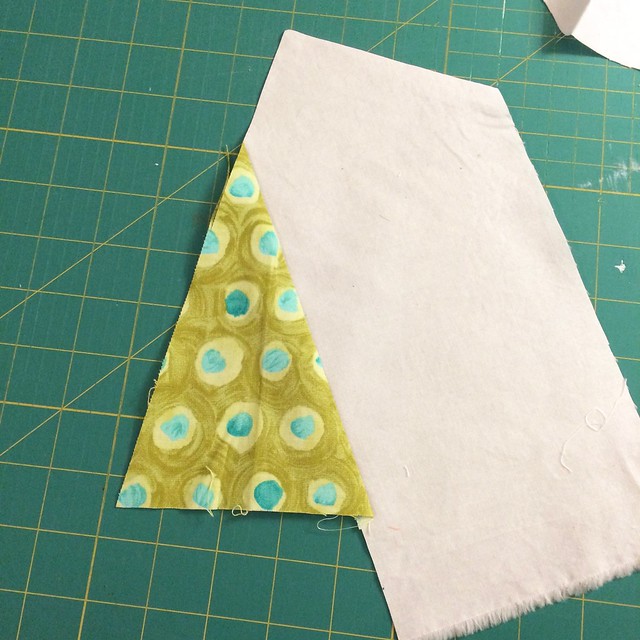
If you are using a ruler, lie the ruler along the unsewn side of the triangle and cut the background to extend the line of the triangle. Again, all cuts can be done freehand if you prefer.
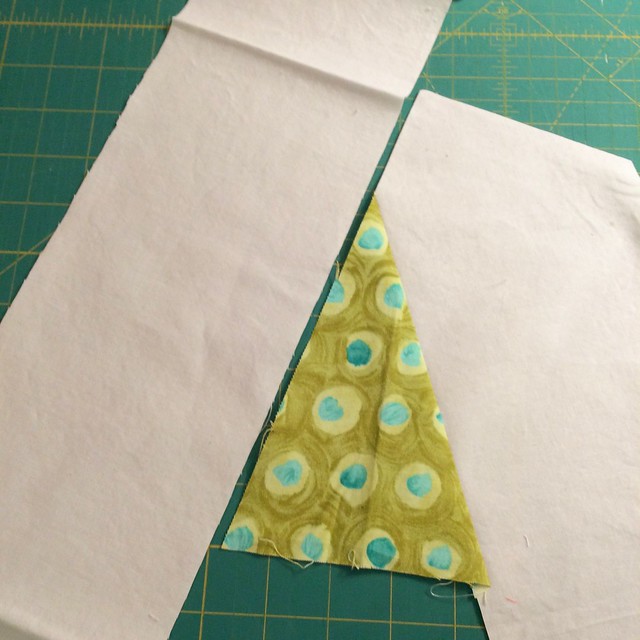
Line the background strip up along the unsewn side of the triangle and then flip it over right sides together.
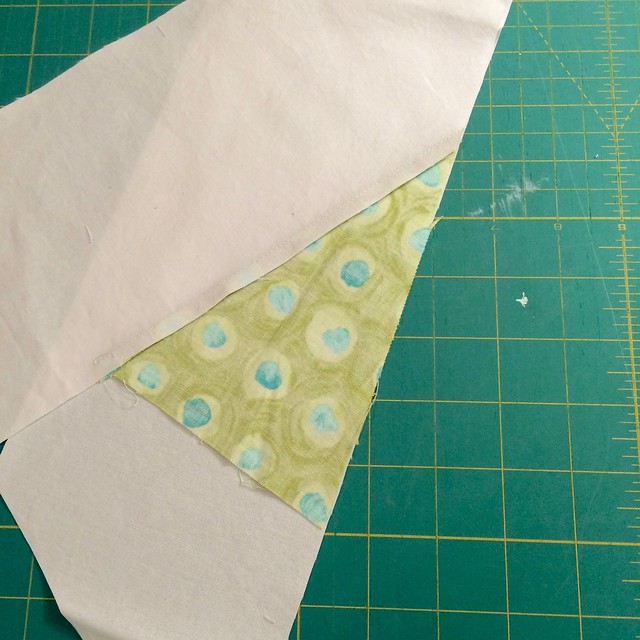
Sew together.
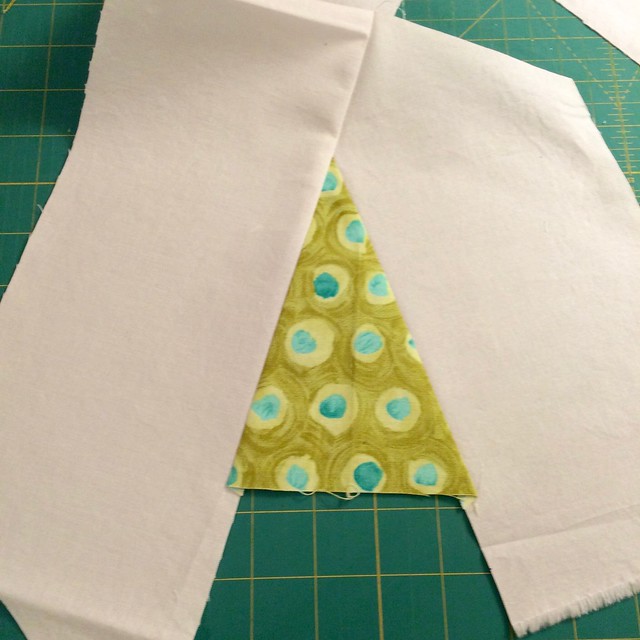
Press.
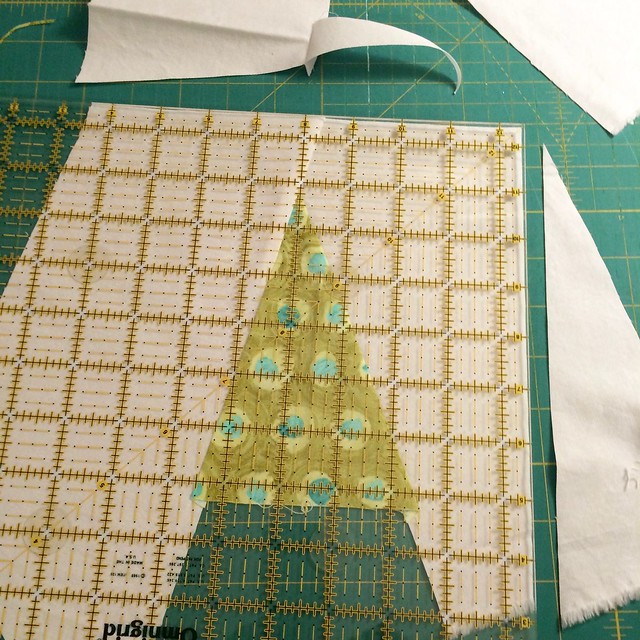
Trim away the excess. If, like me, you want these to be square/rectangle blocks for easier piecing, use your ruler to cut two sides to a nice 90 degree angle. Then flip the piece and using the first two cuts as a guide, cut the other two sides.
I don't want these blocks to be the same size or even particular sizes at this stage so I focus on having proper 90 degree corners. If you want particular sizes, then go ahead and cut them. If you find that you are unable to get a nice cut at the size you want, use wider background strips to give you more room for cutting - and you may have to experiment a bit here. You can also make a too small block bigger by just adding background fabric to the sides - this is improv after all.

Admire your tree.
We are off to get out Christmas tree today and decorate. It is time to start enjoying the season.
If you make some scrappy trees, or anything else with your scraps, please link up with Nicky - Mrs. Sew and Sow - and I for the December Scraptastic Tuesday Link - it is open until Monday night at 10pm MST, go here to join us.
Blogging tip: Blogger just told me that I can now drag photos from my computer into my blog and it works - nice and fast. Usually I use flickr photos, but sometimes I add some from the computer only so this is a nice innovation.
Best,
Leanne


7 comments:
These look relaxing and fun to make!
Definitely fun! And dragging the photos straight onto blogger is definitely easier, isn't it?!
Lovely trees you've made. I love free hand cutting.
Great tutorial and a perfect project for a first time improv project!
If you want to avoid bias edges on the background, cut a square or rectangle slightly larger than the finished block, lay your tree on top of it, and cut around it. First cut one side continuing the angle to the edges, then the other side. Sew on the short side first, then the long side, and square up.
Loooove these! I want to make a Christmas pillow with these! They are lovely!
I've been admiring these little trees and think I may need to get my improv going and start some for next year.
Post a Comment