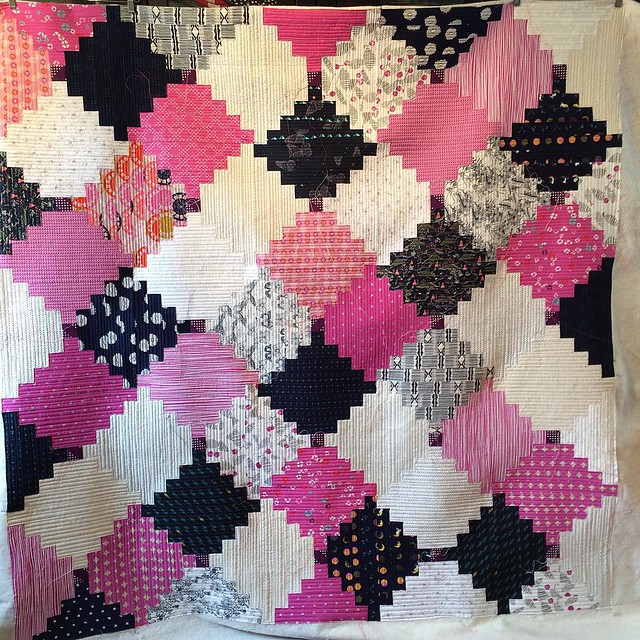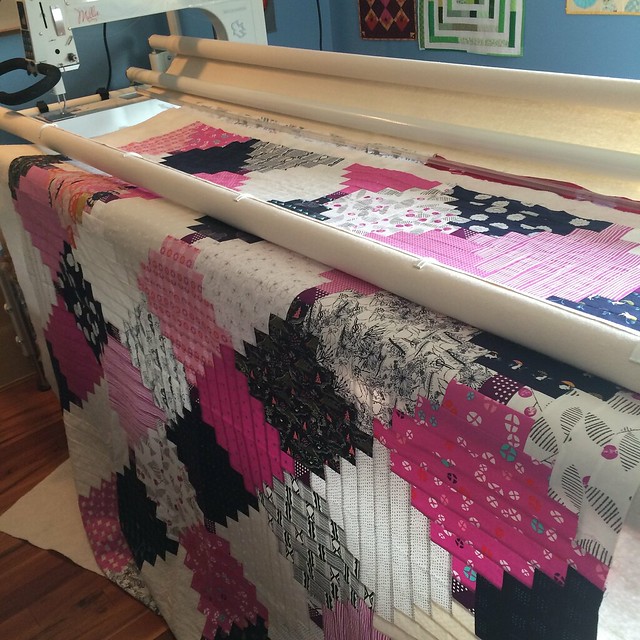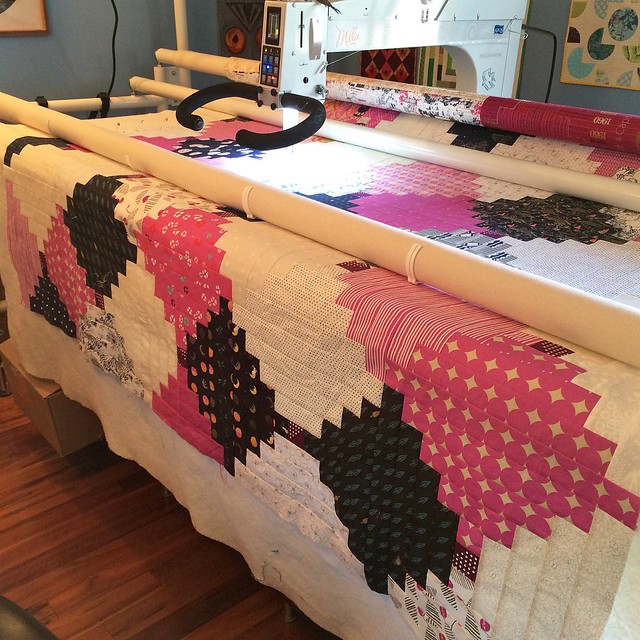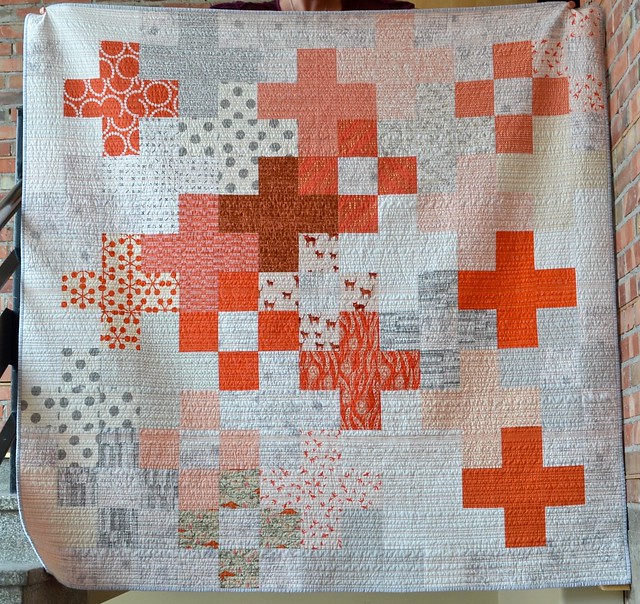
Let me tell you about this quilt - I named her Pow. Pow - I hope that this quilt is full of courage and strength and happiness and love. And she is also my "cancer sucks" quilt. You might have noticed me making her on instagram over the last month or so. A young friend - he is about 25 - is stuck in the hospital for 8 weeks or more having very aggressive chemo treatments for a kind of cancer can be beaten but there are no sure bets with cancer. But this kid grew up with one of mine, he was always about, and he should be laughing and building cars, not doing this. By the way, he is still laughing a lot, this guy is one of the good ones.
So, I did what I knew, I made him a quilt. He likes it too, when he said his favourite colour was orange he meant it.
Several people have asked me for a pattern or a tutorial for my style of giant plus quilts (you can see some others
here and
here and
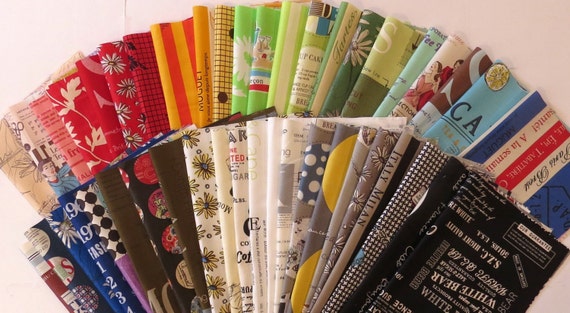
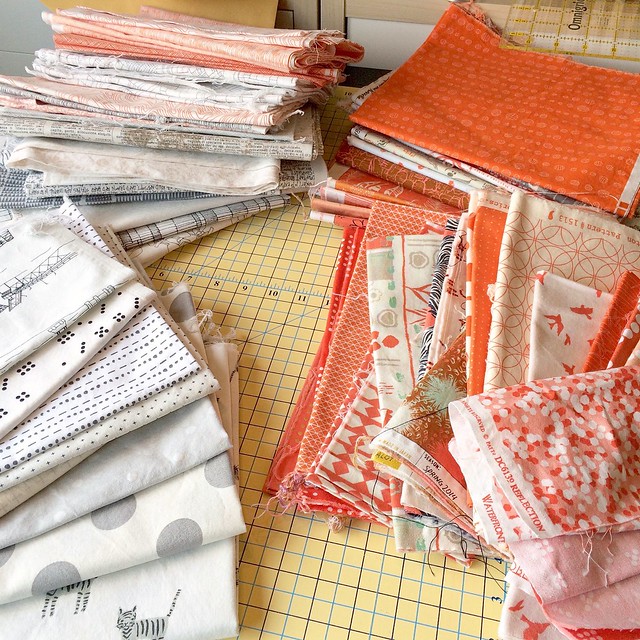
here). So I shared my process on instagram and I will share it with you. This pattern turns out differently each time and is easy to make. First pick a bunch of fabrics, scraps, charm squares and other bits.
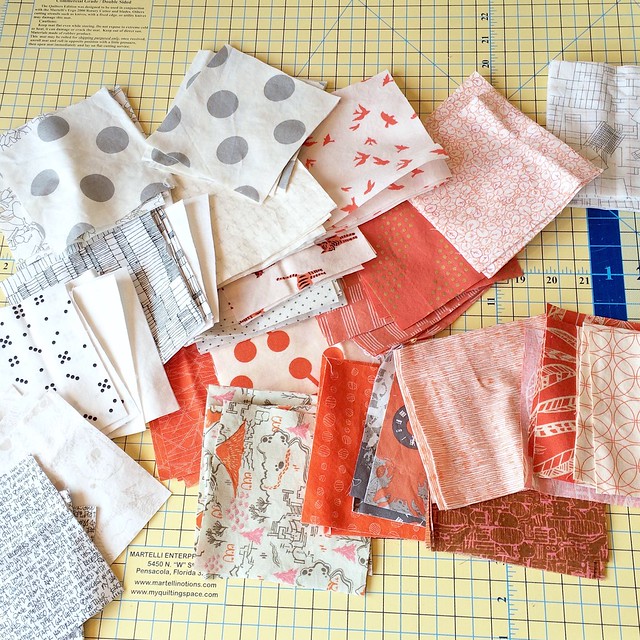
I cut all the fabrics into 5" squares. That way I can use charm squares if I want to. I just cut a bunch - you can add more as you go and left over ones are easily added to your scrap bin. From a fat quarter I cut two 5" strips and then cross cut those into 8 squares. From other pieces I cut 5" strips and then cross cut them. Pick one fabric for the "background" and cut a lot of squares from it.
Now, you certainly can cut two squares and one rectangle to make the pluses instead. If you are starting with 5" squares, your rectangles will need to be cut at 14". But I don't do that as there is less flexibility if you have rectangles - you cannot take out the centre square. Also, you can do a bit of both if you like, cut some rectangles and for other pluses cut only squares. This quilt is pretty flexible to make.
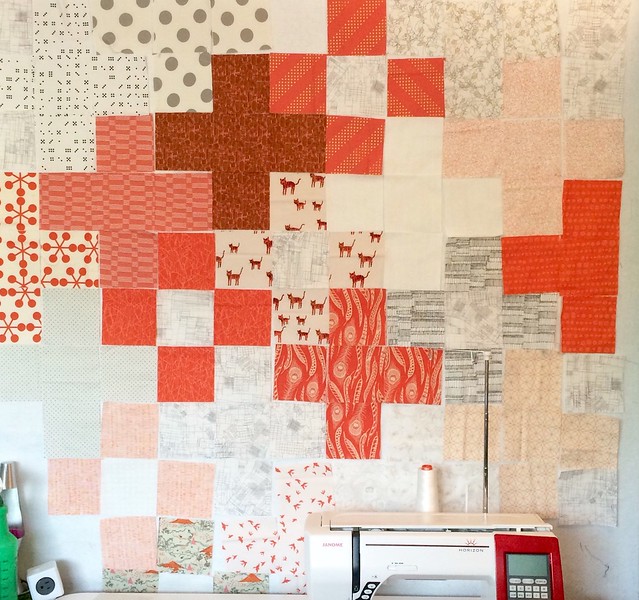
Head over to your design wall or design floor or design bed and start laying out your squares into plus shapes. If you look at the photo you can see how they tesselate - the pluses repeat on the diagonal and between each plus moving up and down the rows are two other squares (look at the photo and you will see what I mean). Make some of the pluses complete and take the middle square out of others and put a background fabric in the middle.
The "floating" or modern effect that my quilts have is caused by making some of the pluses out of the background fabric or even just out of fabric close to the background and also by taking out that middle square on some of the pluses. For this quilt, in my mind I designated the Architectures print you see to the left and down one from the orange feathers, as the background but really all the white low volumes read as background too.
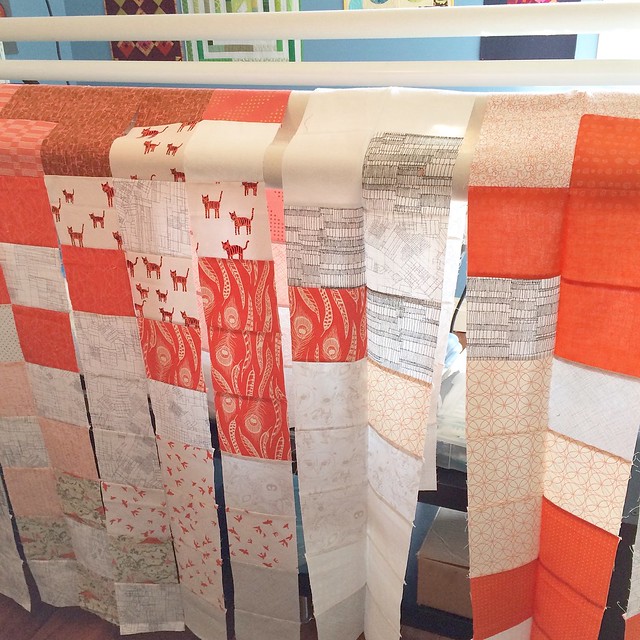
Sew together the rows. I sew the rows from top to bottom. Also, as my design wall is not big enough to hold a good size lap quilt (this one is about 66" square after a wash and dry), I start on the wall, sew the strips and then move them to my design bed (actually my own bed). Then I can lay out some more pluses around the strips and sew them on the top and bottom of the strips until I am happy with the design and the size of the quilt.
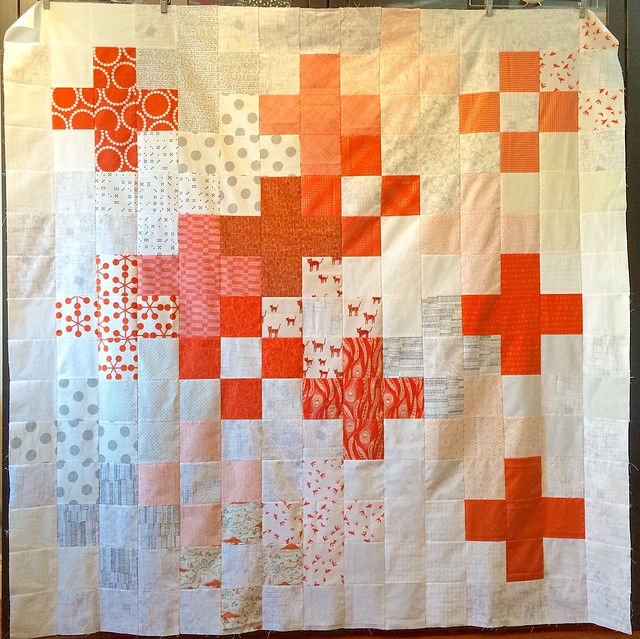
After you have sewn the strips, press the seams. If you lay out the strips and then press them in order, you can press the seams one way on one strip, the other way on the next. That means you can then sew together the strips without pins, just nest the seams as you go. Soon you will have your quilt top done and give it a good press and admire it.
By the way, if at this stage some fabric placement is really bugging you, it is really easy to rip open the seams and change it out. I don't usually bother but as you are randomly placing those fabrics to start, remember how easy it is to change something you don't like. I find that in the end the random placements make me very happy.
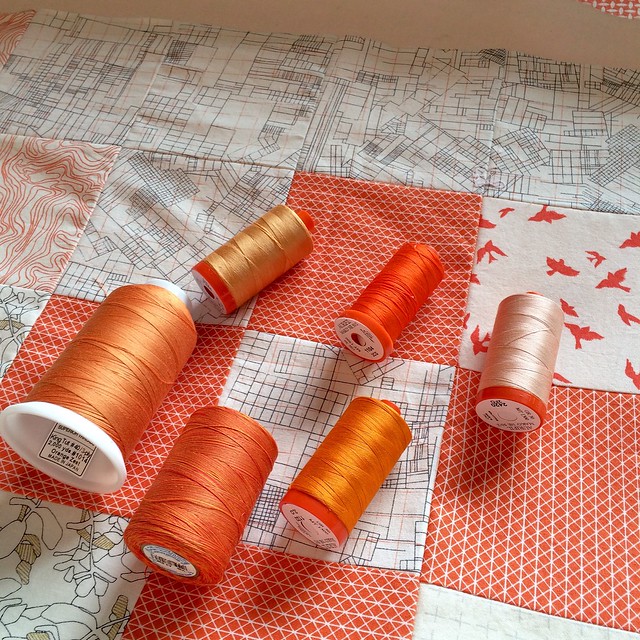
Then layer your top with batting and a back and quilt it (
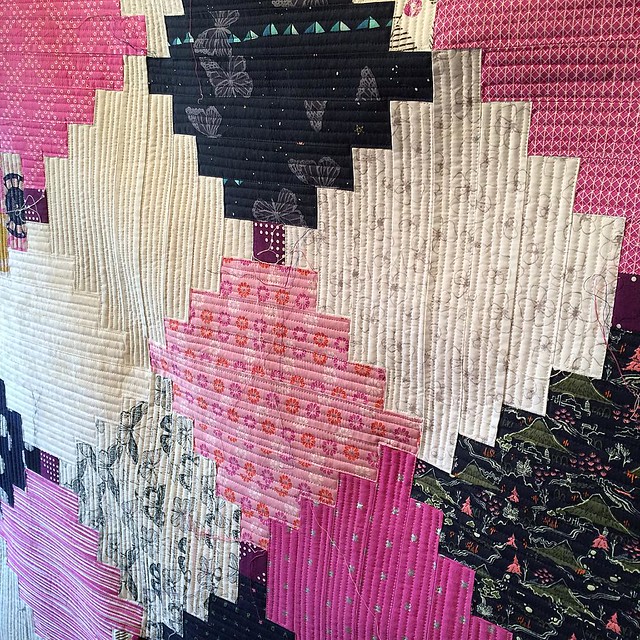
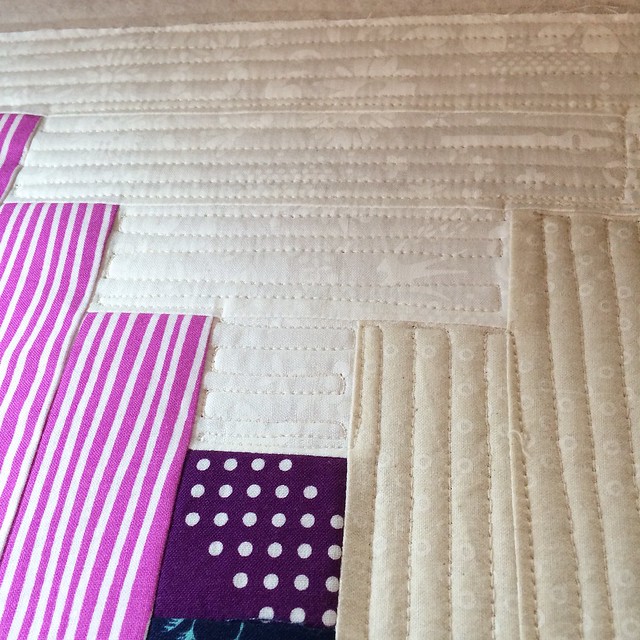
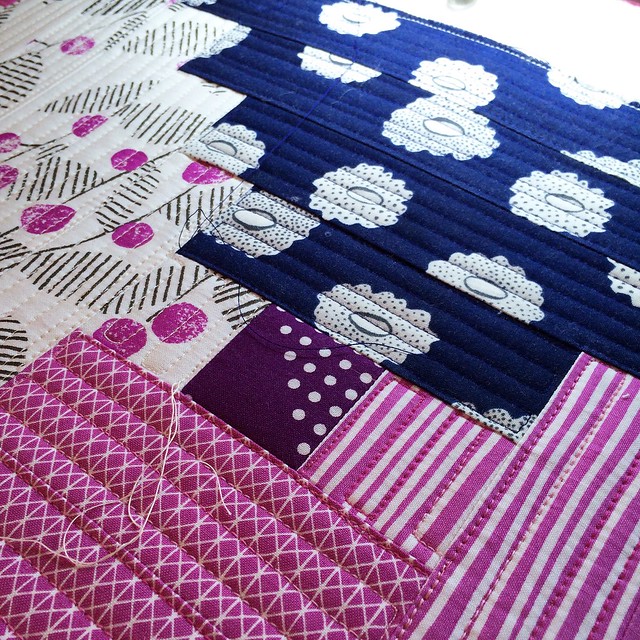
I have a basting tutorial here). I like to use a bright thread to add an additional little spark to the giant plus quilts. I think I used that bright orange Aurifil at the top of the photo. Feel free to also change thread colours as you go. I quilted randomly spaced straightish lines for my favourite industrial modern feel - sort of a fierce and defiant look, which I think is perfect for this quilt.
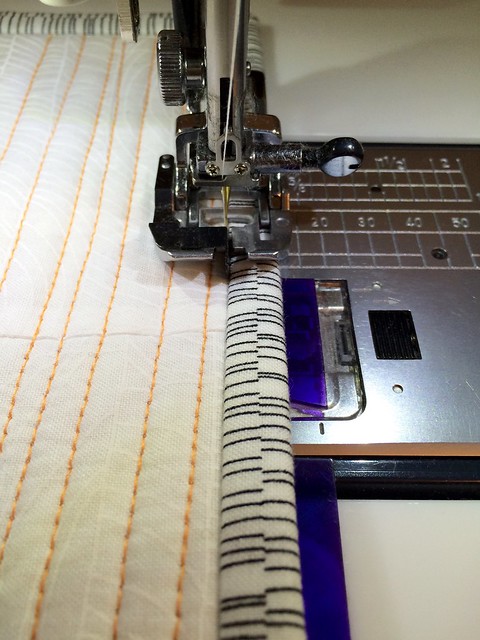
Bind the quilt - I have a
binding tutorial here. I stitched this one on by machine as I was trying to hurry the finish - given that, well, cancer sucks and one feels like the clock is ticking and you want to get that quilt to that guy quickly.
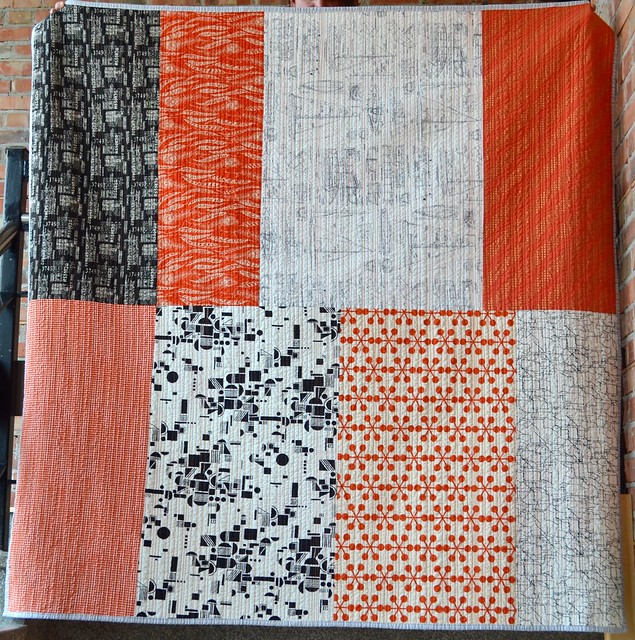
Here is her back. I chose bold, masculine prints, all of which were also favourites of mine. I have to say that these large 6 - 8 print pieced backs are becoming a bit of a signature for me and I just love each one. The back is interesting enough to be another front, but it does not compete with the front either.
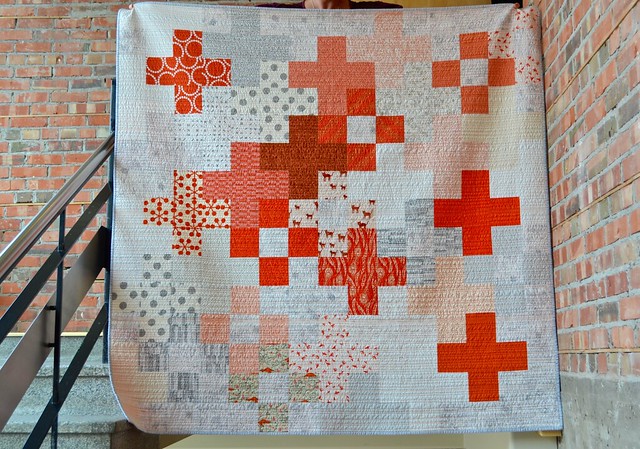
There she is again with a bit of scale. Pow!
I love this quilt and I was so glad to be able to give it to my young friend, who once was a 3 year old playing in my family room. I sure hope he is better soon too, he is brave and courageous and kind and goodhearted, and maybe this orange hug will help a little too.
Best,
Leanne

