Jess, from Elven Garden Quilts, and I are back today with another post in our Decipher Your Quilt series. The goal of DYQ is to make it easier for quilters to understand quilts and quilt blocks and how to make quilts and quilt blocks and resize them without reference to patterns or books.
Today we are going to both discuss deciphering borders, backings and bindings - the less glamorous parts of a quilt.

Borders
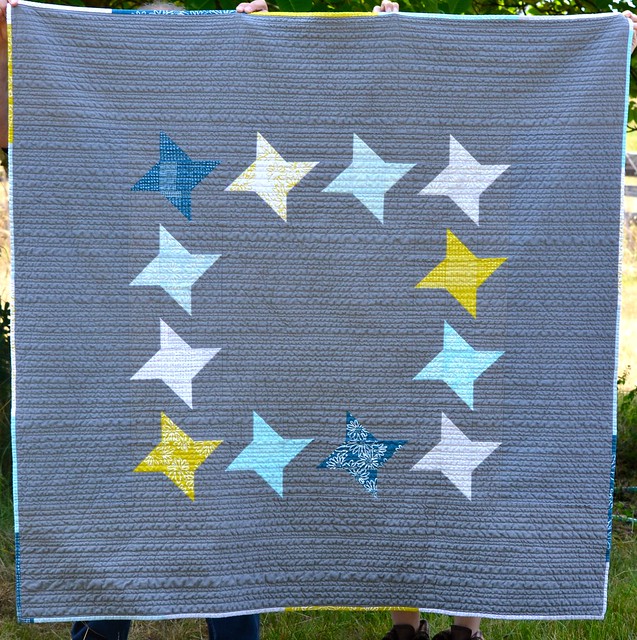
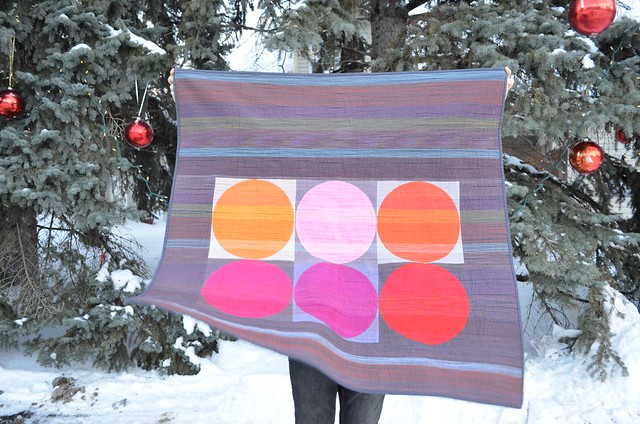
I didn't think I liked borders on quilts until I started making bold modern quilts. Well, it turns out that borders can be the negative space, and so I needed to learn how to make them. The information below will work for any kind of border, negative space or special fabric or strips of blocks - for example, a medallion quilt is just a centre with many additional borders.

The problem with borders is that they become wavy. That is, the border does not lie flat after it is sewn on and during the quilting it can develop big puckers, or worse, folds. The reason for this is simple, the border is too big for that side of the quilt. If you just make a very long piece of border fabric and sew it to the quilt centre and then trim it to the size you need, chances are that you will get wavy borders. I understand this is because of the way the sewing machine mechanism attaches the borders when they are not pinned in place often allows the borders to be bigger than you actually need by the tiniest bit at each stitch, but over a long border those little bits add up and the waves start to appear.
Despite the obvious answer - make the border the correct size - I find it hard to describe making borders without a lot of words, so hang in there with me as I go, I promise it will make sense. And I am certain that there are many other ways to decipher borders, I am just going to share my way with you but if you already have a good approach, please carry on with what works for you.
My tips and calculations for borders are as follows :
the size of the borders
- When I am putting borders all around my quilt, I generally add two side borders and then the top and bottom borders (courthouse steps style) because it is easier to calculate these sizes than adding the borders log cabin style. Sometimes I do the top and bottom first and then the sides, that is just a design decision as to where you want the longer pieces and often it does not show after the quilt is quilted.
- The two shorter borders will be the length of the sides of the pieced quilt centre. So for example, if your quilt is made up of 12" finished blocks and it is 4 blocks tall and 3 blocks wide, you calculation looks like this: 4 x 12" = 48" + 1/2" = 48 1/2" The reason you add the half inch at the end is that the top and bottom block will be unfinished on one end and will each have 1/4" seam allowance, or 1/2" together. In this example your side borders should both be cut to 48 1/2" in length.
- To determine the width to cut for the border, add 1/4" seam allowance to the finished width you desire. For example, if we want 10" wide finished borders all around for this example quilt, our first two borders will need to be 10 1/4" wide by 48 1/2" long. (If you want unequal width borders, just change the width measurements for each calculation to your desired widths).
- Of course, quilting fabric is about 40" wide so to make a 48 1/2" long border, we will have to piece it out of at least two pieces. I tend to make one piece as long as I can and then add on the remaining length that I need, but where you place the piecing seam is, as far as I am concerned, a design decision or might depend on the size of the bits of fabric you have about.
- The key is to remember that you will need to add 1/4" to each of the pieces for the width of the seam allowance where you piece the border together. To make our example border, I would cut one piece 40 1/4" and one piece 8 3/4" (both 10 1/4" wide) and then seam them together. The resulting border piece should be 48 1/2" long by 10 1/4" wide.
- Remember that your centre pieced part may not be perfectly sized. The more seams in the piecing and the more difficult the joins, the more likelihood that your quilt will not actually be the size that the calculations say it should be.
- So, before you cut the side borders, lay out the centre piece of the quilt and measure it's side length. If this is not the length you expect (in the example we are expecting 48 1/2"), and is larger than the expected length, if possible I trim the centre piece to the size I am expecting. This is not an option if you have points that come right to the edge of the seam allowance of your outside blocks. If you cannot trim the centre piece or if the centre piece is shorter than you are expecting, then measure it along both sides and also down the centre. Add up these three measurements, and divide by 3. Use this number instead of the expected number - in our example, use this number instead of 48 1/2", for the length of your side borders.
- The length of the top and bottom borders is calculated by taking the width of the quilt once the side borders are added. In our example, to add the side borders we will sew our 10 1/4" x 48 1/2" side border pieces to our pieced section which is 3 blocks wide or 3 x 12" = 36" + 1/2" = 36 1/2" wide. However, once we sew the two side borders to the pieced centre section we use up both the 1/2" seam allowance from the two sides of the pieced centre and the 1/4" seam allowance on each of the two side border pieces. So the resulting width of the pieced centre with two side borders attached is 10 + 36 + 10 = 56". So the top and bottom borders need to be 56" long and 10 1/4" wide.
- The 56" length will have to be made up of at least two pieces of the border fabric so remember to add 1/4" seam allowance to each piece at the seam for the seam allowance.
- Before you cut the top and bottom borders, you need to again measure the width of the centre pieced part of the quilt, like before, to make sure it is actually the size you expect - in this example, 36 1/2". If not, again measure in three spots and take the average and use that measurement in place of the 36 1/2"
- When the top and bottom borders are added, the quilt in this example will be 56" wide by 68" long (48" long + 10" + 10" = 68").
- Finally, to figure out how much yardage you will need for these borders, I consider how many strips I need to make the borders. Here I needed three strips for each set of borders, so 6 strips in all. The width of each strip is 10 1/4". So 6 x 10 1/4 = 61 1/2". 61 1/2" divided by 36" (1 yard) = 1.7 yards. I would buy 2 yards of border fabric to give me room for a little bit of error.
more tips for piecing the borders
- Measure and cut your borders as meticulously as you can. When your border is long, this is not always easy as most of us don't have long cutting mats. Every time you fold your fabric, your measurements as distorted, and even a quarter inch can make a difference with your borders. Do your best to keep your folds crisp and keep your border fabric on grain as you cut it. When piecing a border to make it longer, work hard to maintain your 1/4" seam. The best technique is to measure the border pieces again when they are ready to go to make sure that they are the right size.
- When you are ready to sew the borders on to the edges, fold the border piece in half and mark that middle point. Fold each edge in to the middle and mark the quarter point. Do the same with the centre part of the quilt to which you are adding that border, marking the same spots. Pin the border to the centre part at the three marks. Add more pins between those three pins, easing the pieces together between the marked spots. This is essential to avoid wavy borders - you are making sure that no extra tiny bits of fabric are allowed to accumulate with each stitch. As you sew the border on, make sure the marked spots continue to match up and ease the fabric between those spots so that the border fits on the quilt centre.
- Watch carefully at the beginning and end of the border seam that you are not veering off to the side a little bit - this is a thing that often happens to me - as it will distort your border. If need be, resew those parts of the seam.
- Press your two side border seams before you add your top and bottom borders. Be careful not to stretch your borders as you press them. When you press your top and bottom borders and then the whole quilt top, again be careful with the borders so they do not distort.
Sheesh, can you believe how many words it took to explain how to add strips to the sides of your pieced centre! This is why I still avoid borders when I can.

Backing
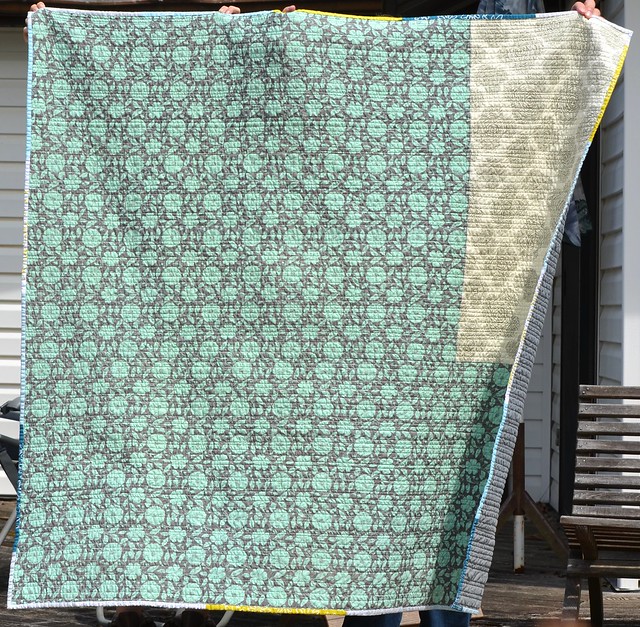
Backings are easy, compared to borders. Generally you want your backing - and also the batting/wadding - to be at least 4 - 6" wider than your finished quilt top all around. If you are going to send it to a long arm quilter, check with your quilter to get the size you will need. The reason for the extra backing is to first make it easier to baste the quilt as you don't need to place the layers exactly on top of each other if the bottom parts are larger. Secondly, the extra backing and batting allow the quilt top to be stretched out a bit by the quilting without leaving a part without backing fabric. Thirdly, it gives you a place to hold onto the quilt as you quilt the edges either by hand or by machine.
First take the quilt top size, 56" x 68" in our example above, and add 6" to each side, so 56 + 6 + 6 = 68" and 68 + 6 + 6 = 80". The back and the batting need to be about 68" x 80".
To calculate amount of yardage you will need for the backing, remember that regular quilting cotton has at least 40" of width after you remove the selvages. For me, the easiest way to calculate the backing is to take the larger measurement and see if it is less than or equal to one, two or three times 40". In this case 80" is 2 x 40" = 80". So two widths of fabric will be just sufficient.
I then look at the other measurement, in this case 68" and as we need two widths of fabric, I multiply the 68" x 2 = 136". 136" divided by 36" (1 yard) = 3.78 yards. I would buy 4 yards of background fabric. To make the back I would remove the selvage edges from the 4 yards of background fabric and cut it into two equal 72" (2 yard) pieces. Then sew those pieces together along the long edge to get a piece that is about 80" x 72" which is a good sized back. Remember to use the same tips as with the borders to piece those two backing pieces together - fold in half and in half again, mark, match those half and quarter marks, pin and ease the fabric between pins - or you will get a wavy back.
Of course, instead you can piece a lovely back in which case you just want to make sure it is at least 4 - 6" wider all around than your quilt top.

Binding
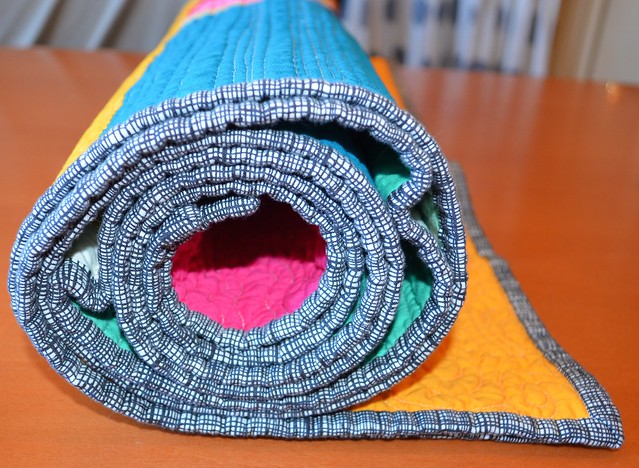
Binding is so easy to calculate in comparison. Measure all four edged of your trimmed quilt top and add those measurements together and then add 10" more - to cover the folds when you mitre the corners. In our example, 56 + 68 + 56 + 68 + 10 = 258". Divide that number by 40" (width of fabric) 258 /40 = 6.45. Round that up to the next whole number which is 7. You will cut 7 width of fabric strips for the binding.
The width of the binding strips is your preference. I usually use 2 1/2" strips for binding. Multiply the width of your binding strips by the number of strips you need. 7 x 2 1/2 = 17 1/2" or half a yard (18"). If I was buying new fabric for my binding, I would buy 3/4 of a yard, to give me room for a cutting errors as I make them from time to time. One tip, if you make a cutting error, you can always add a bit of a different coloured binding and call it a feature strip.
We are nearing the end of the Decipher Your Quilt series
If you are still here reading after all that, please consider whether there are any other topics for Decipher Your Quilt that you would like Jess and I to cover - you can find the topics and links to the posts we have already done here (the page at the top of my and Jess's blogs). If we get some suggestions, leave them in the comments or email one of us and we will add consider adding your topic.
If there are no additional suggestions, we will finish up the series with a post likely in three weeks with an explanation of how to decipher piecing together different sized quilt blocks.
Best,
Leanne
If there are no additional suggestions, we will finish up the series with a post likely in three weeks with an explanation of how to decipher piecing together different sized quilt blocks.
Best,
Leanne


Very useful! I will be bookmarking/pinning this to refer to! In my most recent quilt I was using long pieces and improvised curved piecing so it did get quite distorted one way and another, but I am remembering some of your other posts and appreciating that people aren't flat! Maybe I will gradually get better at flatter!!??
ReplyDeleteGood tips to ensure good results.
ReplyDeleteI have certainly learnt a lot form this post, thanks so much, at the moment I hace a small quilt and the backing is only slightly larger fingers crossed all will be well, I am quilting it by hand so hope that helps it not get out of sink
ReplyDeleteThanks for another fab post, I'm really looking forward to the different size blocks posts - those quilts always look fab but scary
ReplyDeleteLike you I've learned about 'quick' borders. Better to take the time to do it right! ;~)
ReplyDeleteAlways always always measure through the center of the quilt for borders. Thanks for reminding everyone that there are no shortcuts to getting it right. Great post, I'm going to share it.
ReplyDelete