Pages

Wednesday, April 30, 2014

rebel - Ta Da!

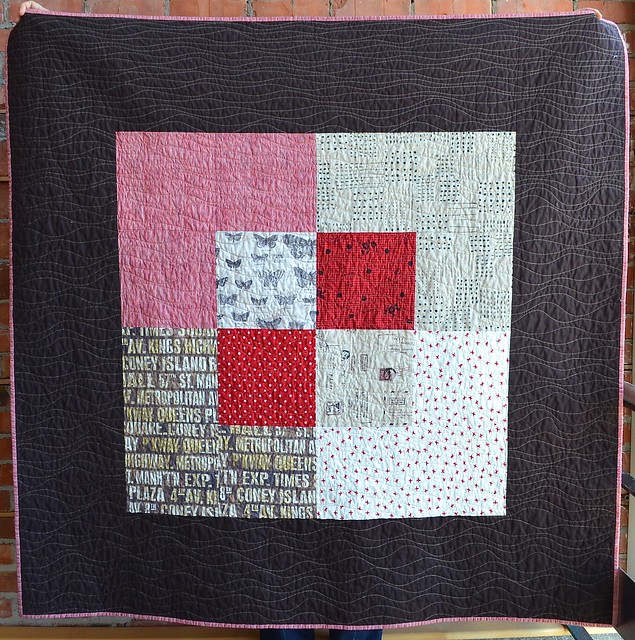
rebel

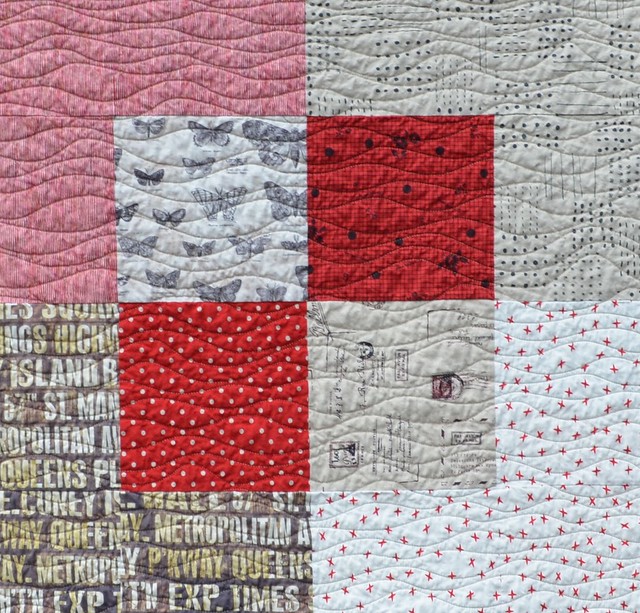
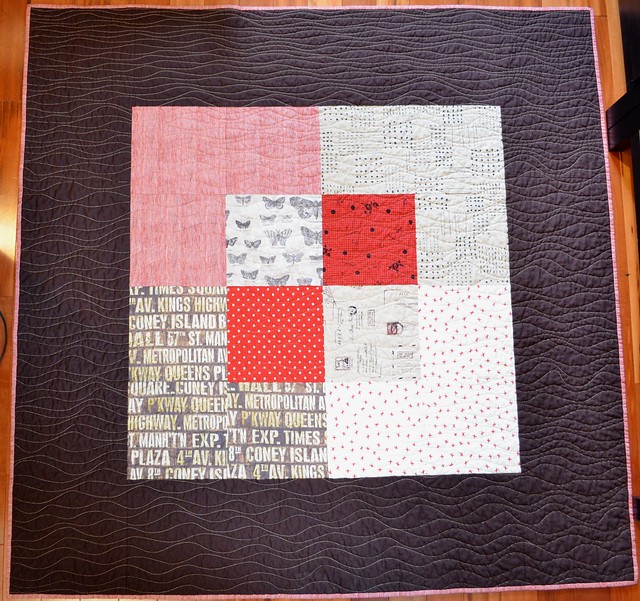
This is rebel, a quilt for my guy. She another Colour Study quilt, but made with extra special edgy, urban prints and espresso brown Essex Linen.

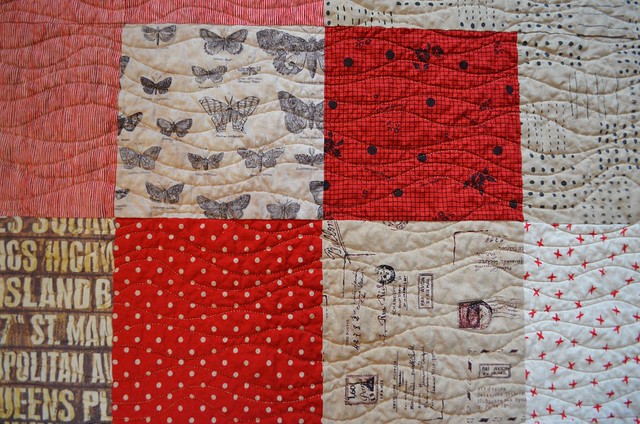
rebel - detail

I purchased many of these prints from Becca at Sew Me a Song and I was surprised at how much I loved them when they arrived. I immediately pulled the rest of the fabrics - there are cottons, linens and blended linen/cotton - and started planning. This is a case where the urban, edgy fabrics inspired me to make the quilt.

rebel

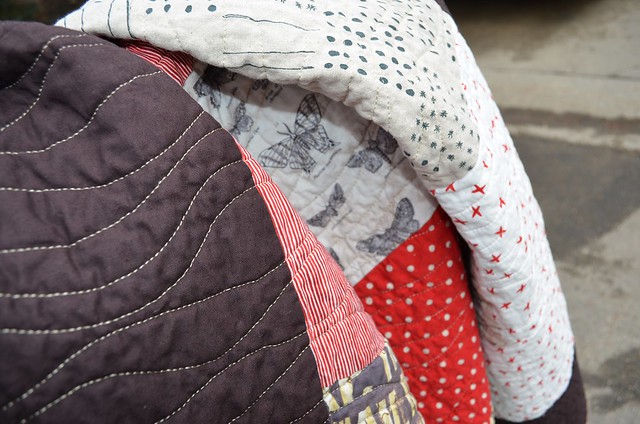
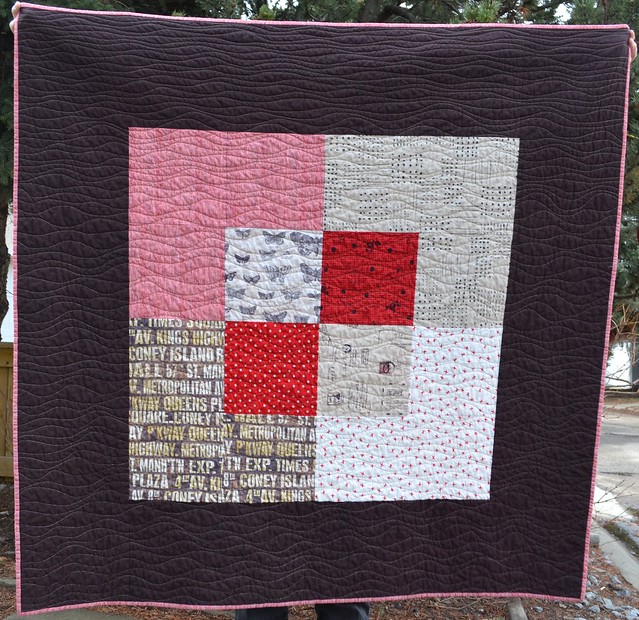
Rebel is bound with the red strip you see in the front panel and she is about 60" square.

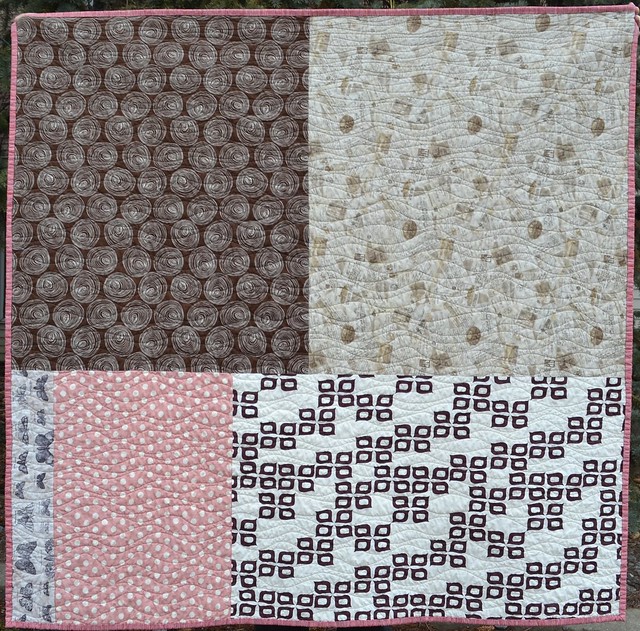
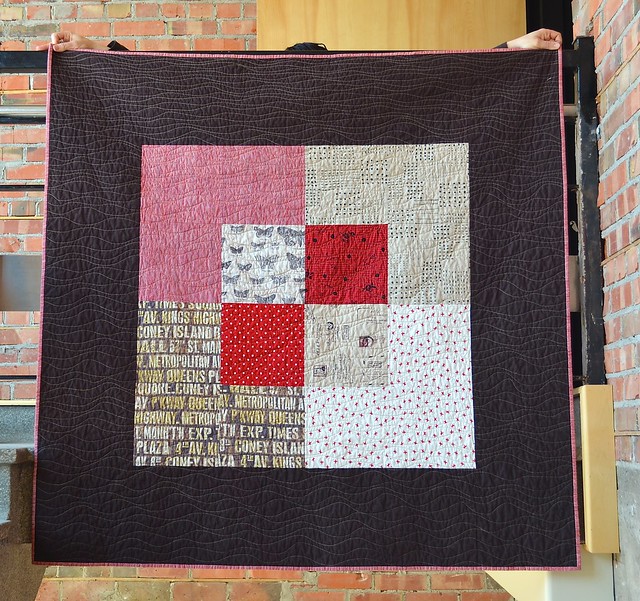
rebel - back

I pieced the back with an eye to simplicity and more fabrics with the same modern feel.

rebel

That might be one of my best quilt photos ever, even if you cannot see the quilt pattern at all. The colours are totally true and you can see the texture of the fabrics so well. You can even see that I used gold metalic thread for the wavy lines which were hand guided, free motion quilted with my long arm machine.

rebel

All these photos are after washing and drying. The different fabrics give a nice crinkly look and feel.

rebel

It is hard to photograph these colours, here she is on the floor.

rebel

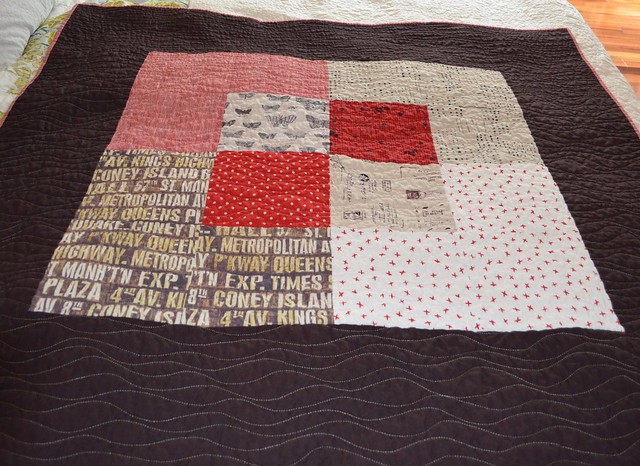
Lying on my bed. You can see how the golden thread (although it does not look gold in this photo) blends with the prints and softens the dark negative space. I really am having a hard time explaining why I love this simple quilt so much, maybe it is the balance of the fabrics, texture, colours and quilting.

rebel

It took me a while to settle on her name - rebel. This quilt is not "quilty", she is a rebel, yet in the end she is also soft, cuddly and perfect for a nap.

Oh, and rebel  is my finish for this month for A Year of Lovely Finishes, and I am off to link her there and over the weekend I will be checking out the other lovely finishes. The Colour Study pattern is done too, I just have some final edits to incorporate and it will be off to those of you who volunteered to pattern test later today or tomorrow I expect.
And rebel is also my first Q2 FAL finish (here is my Q2 list).

Finish Along 2014
Best,

Leanne

Monday, April 28, 2014

Spring pillows - a tutorial

Pillows

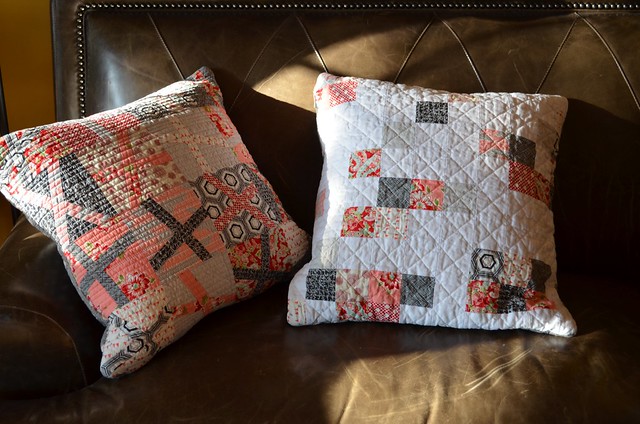
Almost two months ago, I told you I was making these pillows with the Fluffy Sheep Quilting She Can Quilt Blogger Bundle of fabrics and I promised to show the to you when they were done and share a tutorial too. Then I was busy and travelled a lot but finally, here they are.
Pillows

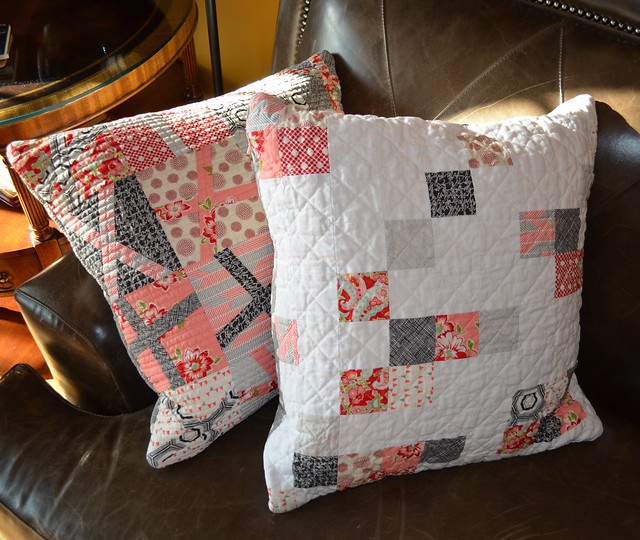
These two pillows finish at about 19 - 19.5" square depending on how you trim them up. I used the fabrics from my bundle and added Essex linen to the pixelated pillow. The pillow form inside is a down filled 20" square from IKEA. These photos were taken after I washed the pillow covers.
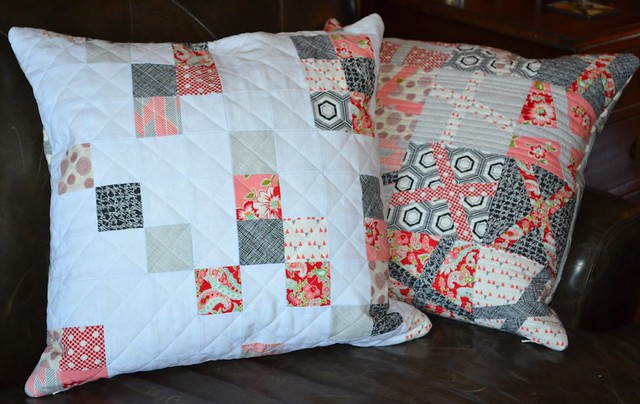
Pillows

For comparison, the picture above is before I washed the pillow covers. You can see the added texture, drape and softness that washing adds.

The She Can Quilt Blogger Bundle

There are the fabrics in the blogger bundle Cindy invited me to choose for Fluffy Sheep Quilting. There are more bundles in Cindy's shop, should you want to make a pillow just like one of mine. There is plenty of fabric in the bundle to make each of these pillows and have more left for another project.


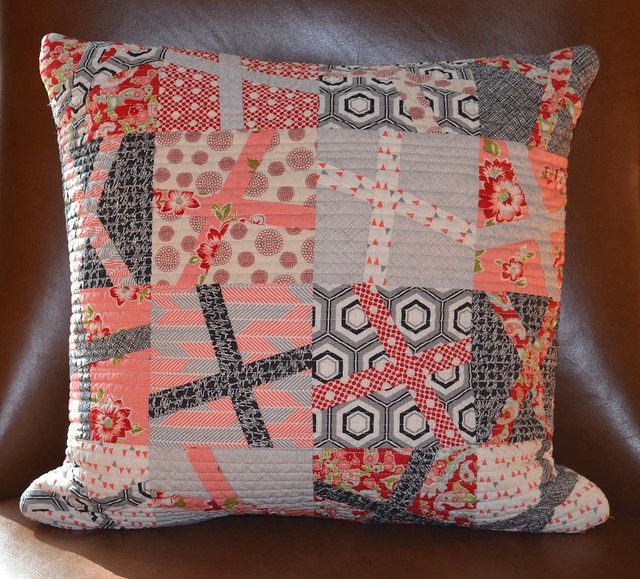
The improv cross pillow top was made by making 16 blocks which are each 5.5" before they are joined. To make them, start with a 5.5" square of the background fabric and a strip of fabric to make the cross. I used strips that varied between about 1.5" and 2.5" wide. Slice the background square on an angle and make sure you have a strip long enough to insert.


Sew the strip to both sides of the background and press. You will see that the background no longer lines up perfectly but don't worry about that right now.


Slice the block again on whatever angle you like to make the other side of the cross. Make sure you have a strip long enough to piece in this spot.


Sew the second strip in place. It is a bit tricky to position the fabrics so that the first strip still looks straight. I just eyeball this placement and didn't worry that it is not exactly right. If you position the second seam and then fold back the fabric at the 1/4" seam allowance, you can see if you are close to lining up the seam or need to move the fabric a bit. Press this unit and then trim it back to a 5.5" square. Make 16 units in total.


When you have 16 improv crosses made, lay them out until you are pleased with the layout. If one really is not working for you, remember that you can always make another unit and change out the offending unit.


Sew the 16 improv cross units together in a 4 x 4 grid, using a 1/4" seam allowance. I sew the units in each row together, press the seams and then sew the rows together. Press the seams again.
Pillow

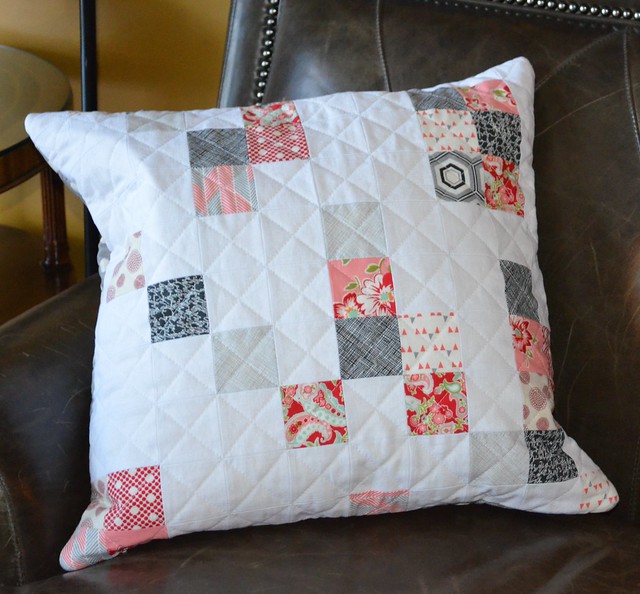
This pillow front is far simpler to make. Cut out a number of 2.5" squares from your prints - I cut about 45 squares but did not use them all - and cut a number of squares of your background fabric. Don't cut all your background squares to start, you may decide you want to add in more prints and it is easier to just add the rest of the background in once you have decided on the arrangement of the prints.


In the end you need a grid of 10 x 10 which equals 100 squares. Arrange the squares in a random and pleasing arrangement. I have been asked the trick to this kind of improv layout and there isn't one. Just lay out your squares and see what you like. Keep in mind the amount of background you want to see - I was going for about 1/3 patterns and 2/3 background. I rearranged them until I had a reasonable balance of the blacks and reds. Do not take too long doing this as there are countless options - I set myself a 15 minute time limit. In any blanks, add more background squares.


Then sew the squares together row by row, press, sew together the rows and press again. I pressed the seams all open but pressing to the side also works. I pin at each point the seams meet as I wanted to end up with a fairly squared off grid.
PIllow

Next, quilt the pillow top. Make a quilt sandwich by cutting a 22" square of scrap cotton - I just used Kona white, lay a 22" piece of batting on top of it and then put the completed pillow on top of the batting. Baste (I used pins but basting spray works too). Then quilt as you like. For this pillow I quilted straight horizontal lines about 1/4" apart. On the other I quilted a diagonal grid from corner to corner. Once the top is quilted, trim it to about 20.5" square.
Pillows

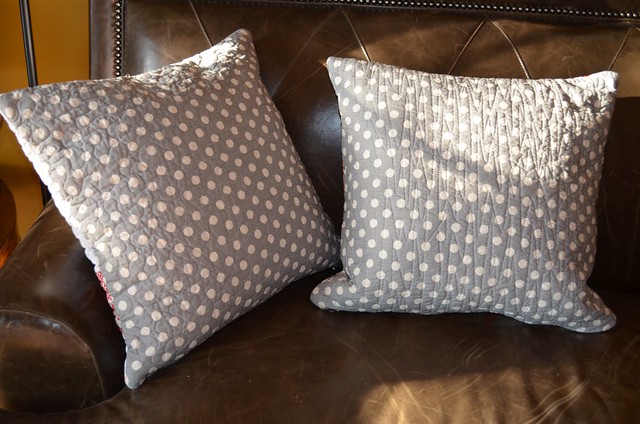
For the backs, I sandwiched a 21" square pieces of unimportant cotton - unimportant because you will not see it inside the pillow, I used white, batting and then this Sweetwater spot fabric.  Baste (I used a few pins to baste these layers but basting spray works too). I quilted the back pieces each in a different allover free motion quilting pattern. Once the backs are quilted, trim them to be 20.5" square (or the same size as your pillow fronts).


An optional step, but one I recommend, is to zig zag stitch all around the edge of the top and bottom quilted and trimmed pieces of the pillow - or if you have a serger, use it to lock stitch the edges. This will stop the edges from fraying too much and also hold your quilting stitches in place.
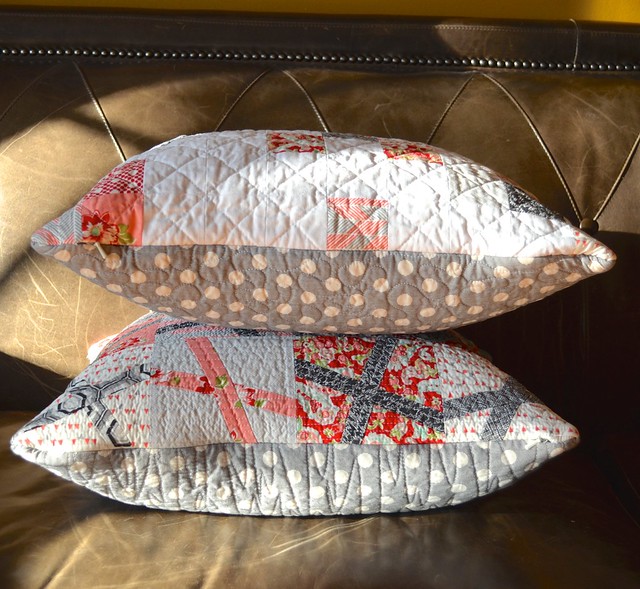
Pillow - its hard to see the invisible zipper

There are several easy to finish the pillows once you have the top and back quilted. I decided to use an invisible zipper. (The zipper pull is on the far left for the top pillow and the far right for the bottom one, but you can see that the zippers are basically invisible.) Invisible zippers are really easy to install. Truly, they take a couple of minutes.


I have an invisible zipper foot. If you don't have an invisible zipper foot, you will need to carefully press open the zipper teeth before you stitch so that you can stitch close to them with a regular zipper foot. Open the zipper and place it back side up on your ironing board. Carefully roll the teeth to the centre and press open, being careful not to use an iron too hot which melts the zipper teeth. You need to do this because on an invisible zipper the teeth curve to the back which is what makes it invisible but also makes it hard to stitch that close to them without an invisible zipper foot which rolls the teeth away as you stitch.

For the next pictures, I used another pillow for the tutorial, please don't be confused. The coloured fabrics are the right sides of the pillow in these photos.


On the bottom edge of your pillow, fold it in half and on the front mark the centre point with a marker. Do the same on the bottom of the back of the pillow. Lay your invisible zipper along the edge of the pillow and trim any excess length on the zipper. Carefully stitch across the end of the zipper end to create a new zipper stop if you trimmed off the original zipper stop. Position the zipper in from the edges of the pillow front about 1.5 to 2" on each side. Mark the zipper  on both sides of the teeth where it meets the middle mark on the pillow top. Also mark the zipper where the zipper teeth start (see the far left part of the photo below).


With the right side of the pillow top facing up, turn the zipper over so that the zipper pull is facing the pillow top (look to the far right of the picture above). Open the zipper all the way to the new zipper stop. Pin the zipper's edge fabric along the outer edge of the pillow top's bottom edge. Start pinning at the centre marks and then move to the top and bottom of the zipper. Pin with the pin heads toward the end of the zipper as shown so that they can be removed as you sew.


Position the invisible zipper foot right at the top of the zipper at the mark you placed where the zipper teeth start. Make sure your sewing machine's needle is set to land close to where the zipper teeth are. If you are using a regular zipper foot, start in the same spot, just where the zipper teeth start.


Backstitch at the beginning, slowly stitch toward the pins. You should be affixing the zipper to the right side of the pillow front or back. For me, the zipper wants to slip away from the edge of the pillow so use lots of pins and move slowly. Remove the pins as you reach them. Stitch as far as you can go and then backstitch.


Place the bottom edge of the pillow pieces with right sides together. Match the centre marks of unsewn part of the zipper and the bottom edge of the pillow back. Pin the zipper along the pillow back edge as for the top, starting at the matched marks and moving in each direction. Orient the pins so the pin head is toward the zipper stop. Stitch in place just as you did the first part of the zipper.

That's it, you have installed the invisible zipper. Open the pillow top and back to make sure that you have installed the zipper so that when it is closed the tops of the pillow pieces face out. Test the zipper to make sure that your stitching is close enough to the zipper teeth and that you can close it. Add more stitching if needed.


To finish the pillow, first OPEN THE ZIPPER UP AT LEAST HALF WAY. If you forget, you will be unpicking your seams.

Then pin the two pillow pieces, right sides together. In the picture above, you can see the stitching line for the zipper. Pull the back of the zipper at the zipper stop out of the seam allowance as shown. Start stitching your pillow, backstitch and use about a 1/2" seam allowance. Start stitching as close to the stitching line for the zipper as you can get. Stitch all around the pillow, ending at the beginning of the other stitching line. Keep in mind your mark at the beginning of the zipper teeth and don't hit that little tab with your needle as it might well break it.


In this photo you can see the end of the stitching line, right at the mark at the start of the zipper. Clip the corners to reduce bulk. Turn the pillows rights side out, being careful not to pull open the stitching at the beginning and end of the zipper and coax your corners as open as you can. Insert your pillow form and then zip up your pillow. I find invisible zippers hard to close because they are curved and such. Take your time, patience and care will get it closed and remember you are only opening it up again to give the pillows a wash.
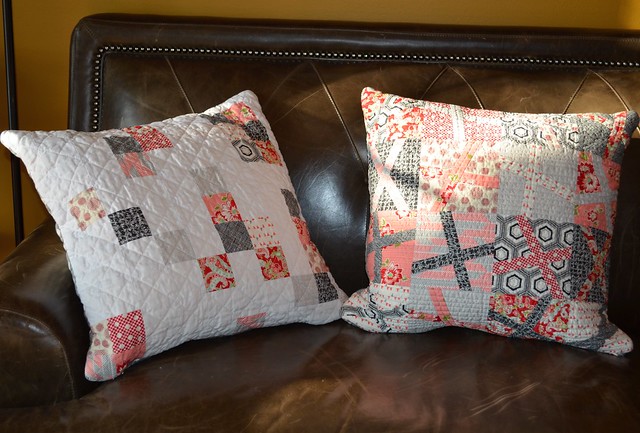
Pillows

Admire your beautiful pillows, as before you know it others in your family will be napping on them. Now that you know how easy the invisible zipper is, you might well want to make several more. If you do make some pillows using my tutorial, please share them in my flickr group, Inspired by Leanne, she can quilt here or email me a photo.

You can get invisible zippers in most stores that sell patterns and fabric for dressmaking. I ordered mine from Zipit and I order long ones and then trim them to size. For these pillows I expect an 18" zipper would be about perfect although I have no idea if they come that size.

Have a wonderful day!

Best,

Leanne
Friday, April 25, 2014

I made some quilt blocks

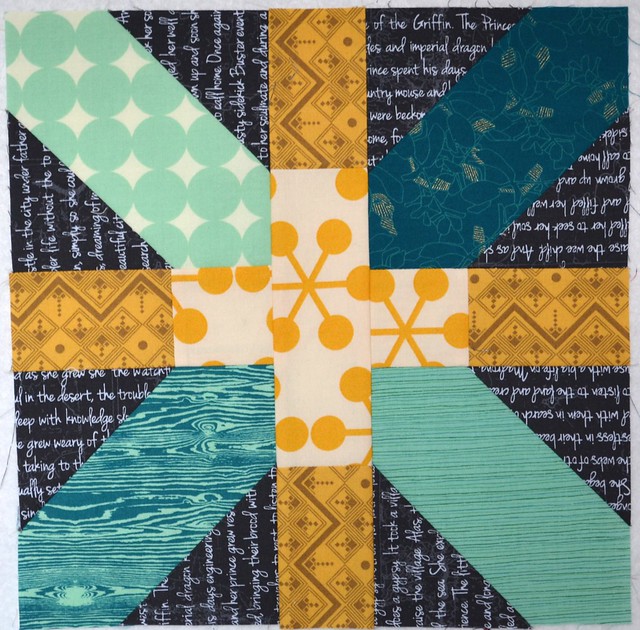
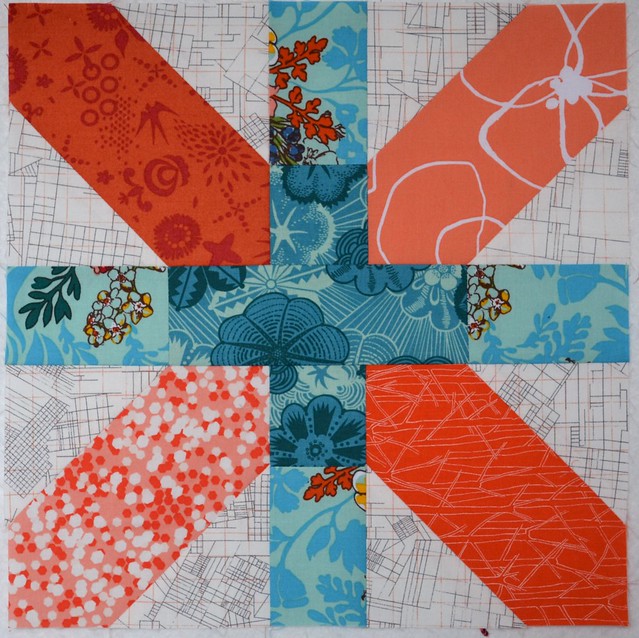
X and + block for Rebecca

In between trips out of town, I have been finishing my bee blocks for April. In the Modern Stitching Bee, Rebecca from Making Rebecca Lynn asked for x and + blocks in rich colours. I have not made these before, and I have to say that they are not as fussy as I expected.

X and + block for Rebecca

It took longer to pick the fabrics than it did to make the blocks. I also learned that I truly need to organize my bins of scraps because I keep making scrappy blocks out of the folded pieces of fabric on my shelves instead.

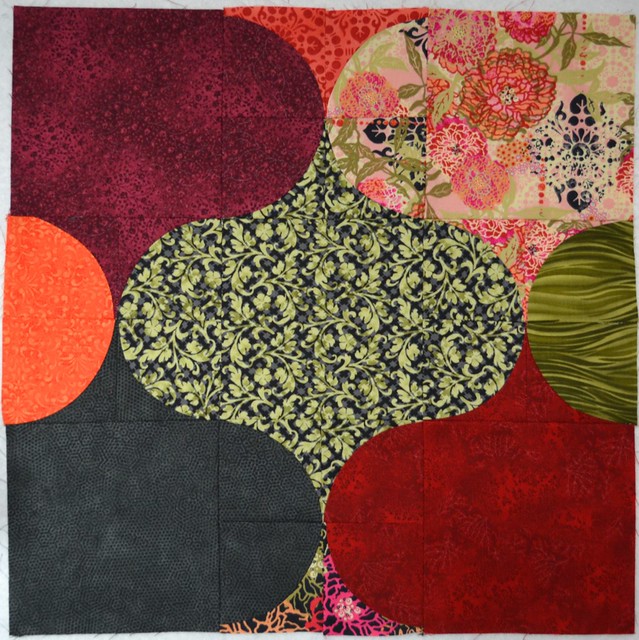
Ogee Block for Mary

For April in Always Bee Learning, Mary asked for Ogee blocks. As you know, I love sewing curves and in case you have not seen it, my video for sewing curves is here. As Mary had cut the "L" shapes exactly to the 1/2 inch required for these blocks, there was no room for error but once I got going it was not hard. When I make curves that are trimmed so that the curves touch at their centres like this, I generally cut the L shape wider and then trim it down after piecing the curve, so it was nice to see that I could manage it without that safety net too.

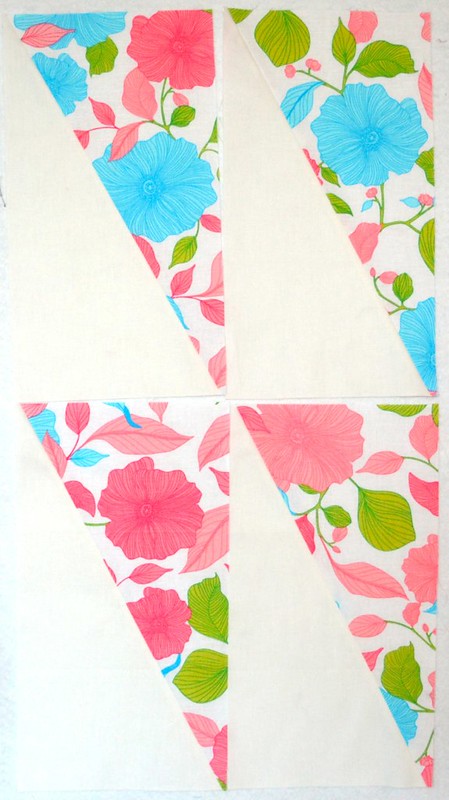
Half rectangle triangle blocks

Debbie from A Quilter's Table sent her May fabric for Always Bee Learning early and asked for 13" x 7" half rectangle triangles, using the Modern Quilt Guild tutorial, which is here. I found these the hardest of the bee blocks I am showing you today. I checked my 1/4" seam, I measured and cut the fabrics perfectly (I thought at least) and I trimmed them ever so gingerly and carefully but in the end three of them are out by almost 1/8" on one side or the other.  I expect that Debbie can make them work, but I am going to practice this block some more to figure out how to get consistent sizes - I think making them a bit bigger and planning more trimming might be the ticket for me.

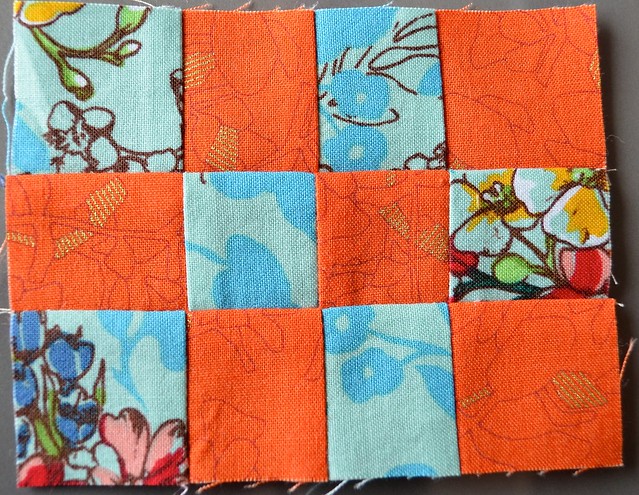
True Colours - Pack Patch Mini QAL

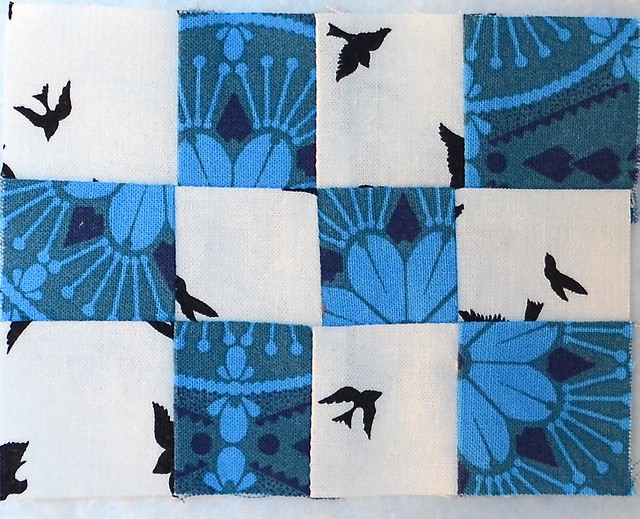
These last four blocks are for the Pack Patch Quilt Along. The pictures are deceptive, these blocks finish at 3" x 4" so the ones in the pictures are 4.5" x 3.5". Chase from quarter inch mark is giving inspiration for two of these tiny blocks a week and I could not resist. This first one is "my true colours".

Favourite Colours

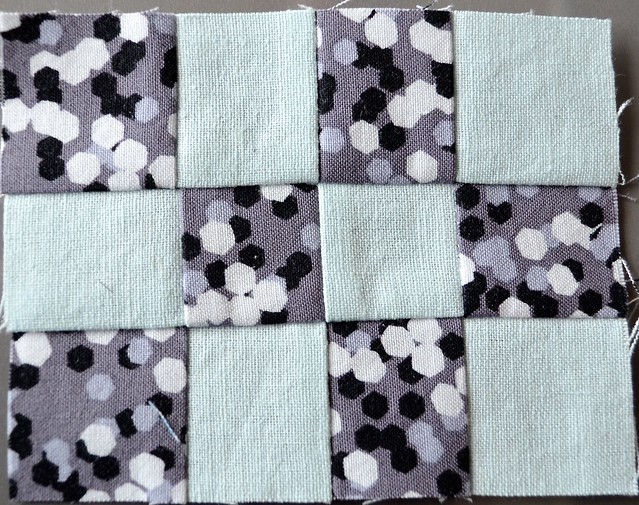
This one is "favourite colours". I have to say that I love all the colours, but the day I made this one, these were my favourites.

April Showers (and snow at my house)

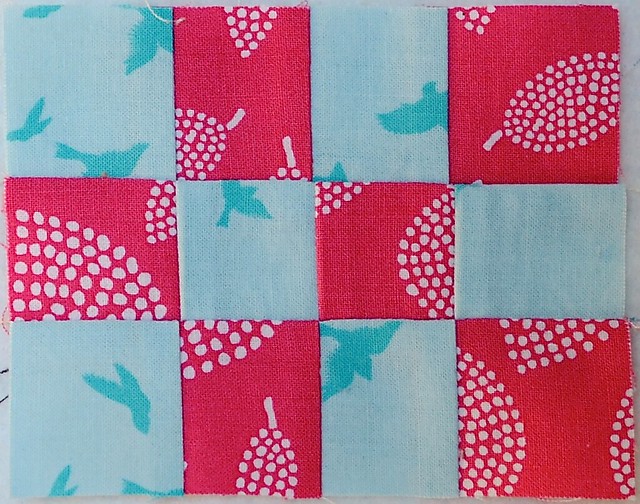
This one is "April showers". We also had April snow here.

May Flowers

And this last one is "May flowers". It is not too late to join this QAL, the blocks take about 10 minutes to make and they are so cute.

I am back in town for a couple of weeks now, regular sewing and blogging should be possible again.

Best,

Leanne

Sunday, April 20, 2014

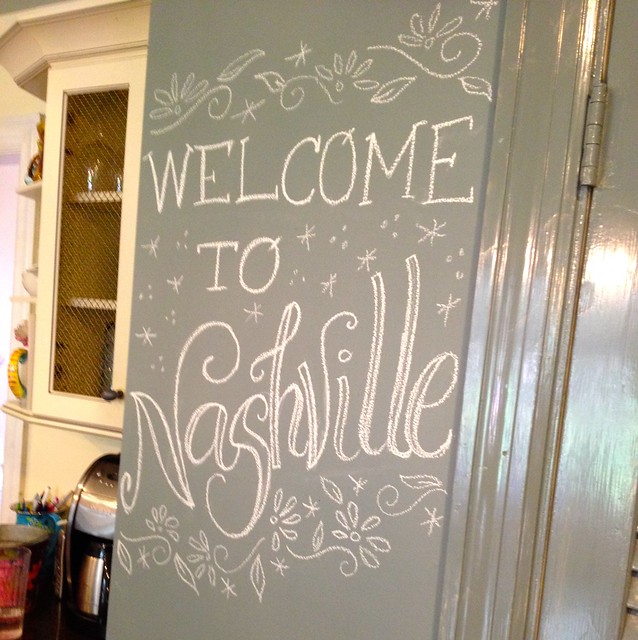
Sewdown Nashville - Retreats end up being all about the people

Nashville - Lower Broadway

Last Friday morning I was walking along Lower Broadway in Nashville with Rene and Victoria. Despite it being just around lunch time, this part of Nashville was humming - people were everywhere and there was music pouring out of the clubs as we walked.
Nashville - Painter's Alley

Printer's Alley has undergone several changes from its roots as the printing district. Now its full of clubs.

Victoria and I - Nashville

A couple of photos seemed in order, Victoria and I.

Victoria and Rene - Nashville

Victoria and Rene.

Boots in Nashville

An other thing we saw on this walk was cowboy boots, store after store of them, mostly all offering you free pairs too. Now, being from Alberta, I live in the wild west but I have to say that there are a lot more colourful boots to buy in Nashville, should you be looking for a pair.

Anna Maria Horner's kitchen

On Friday at 4 p.m. sharp, all the quilters boarded large buses and headed off to Anna Maria Horner's house. Truly, the Horner's are fantastic, they had lovely food and beautiful music and they let the quilters wander all over their beautiful home.

Anna Maria Horner's studio

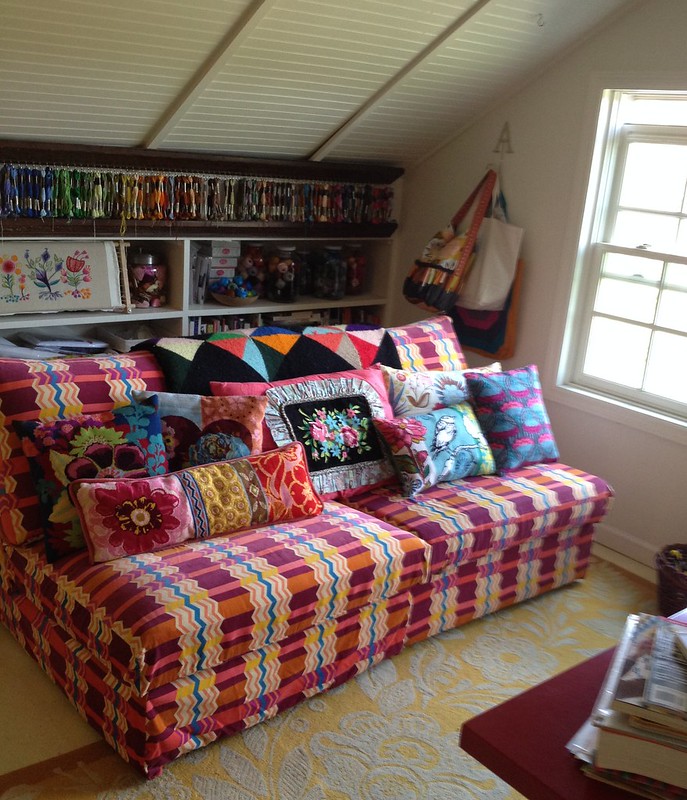
That is part of Anna Maria's studio. I so want a wall of embroidery thread like that one. I was too busy visiting to take many other photos, and everyone had a fantastic time. On the way home, we stopped at The Fabric Studio and then it was time for open sew until midnight.

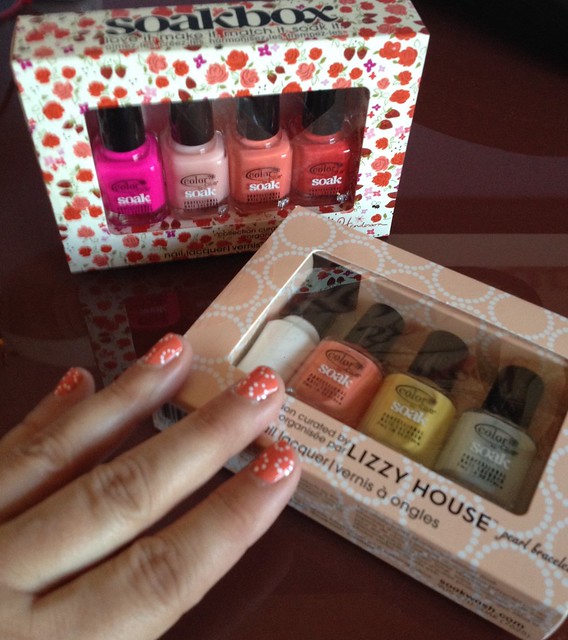
Soak nail polish

I spent some time that evening with the lovely Jacqueline from Soak chatting and getting my nails painted Lizzy House pearl bracelet style. Soak teamed up with fabric designers who curated the cutest nail polish sets and of course I had to buy two of them.

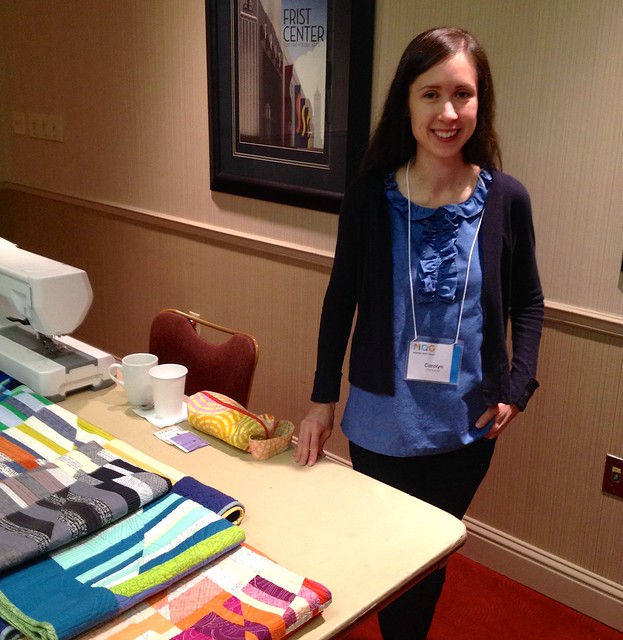
Carolyn Friedlander - in class, Sewdown Nashville

Saturday morning my first class was with Carolyn Friedlander. We learned to make her Ariel quilt - look at those fantastic samples on the table. I adore Carolyn's fabrics and her patterns are great too. It was so nice to get to know her  better over the weekend.

The group was broken into 4 sections of 20 so we all rotated through the classes all weekend. These fantastic teachers taught their workshops 4 times in a row, and were fresh and inspiring each time.

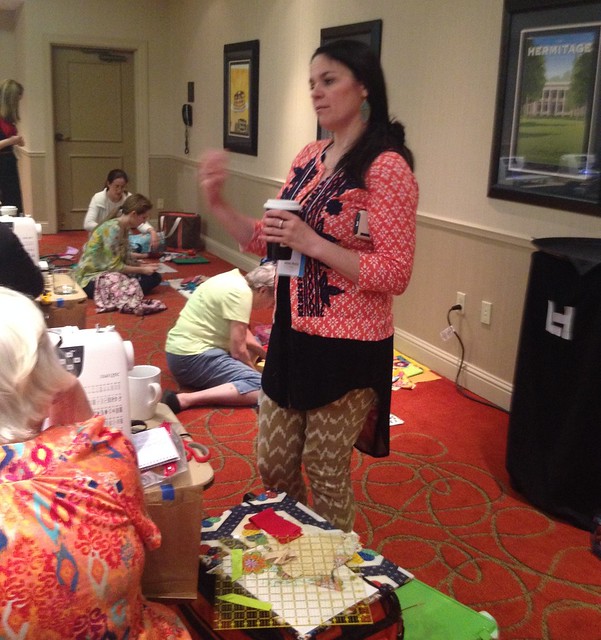
Anna Maria Horner - in class Sewdown Nashville

Saturday afternoon was a workshop with Anna Maria Horner. Everyone was spreading out on the floor creating collages. I teamed up my new friend Beata, and we actually finished my pillow top which I will share later.

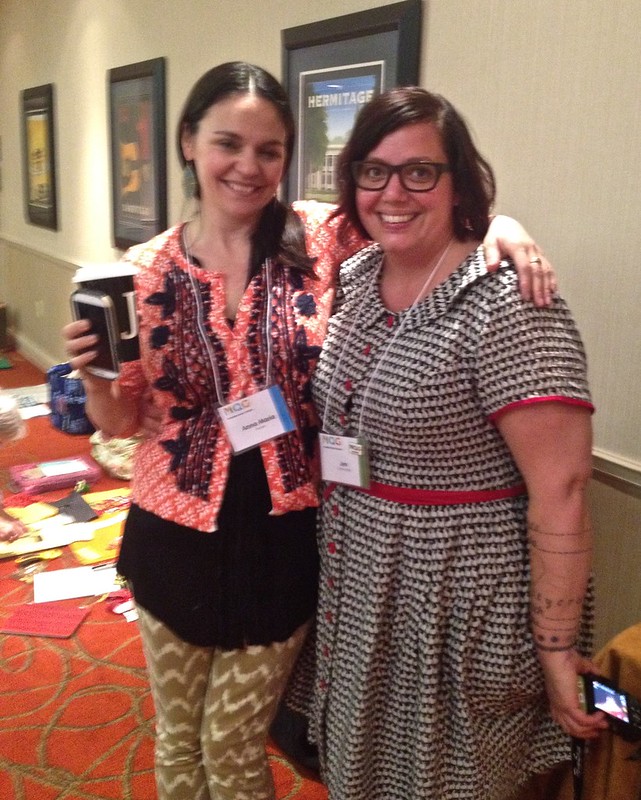
Anna Maria Horner and Jen Carlton-Bailly - Sewdown Nashville

Here is Jen with Anna. Jen, who blogs at Bettycrockerass, was one of the three Modern Quilt Guild organizers who hosted this weekend and I am so glad I got to know her better.

There are a lot of things I have no photos of. We had fantastic meals - all of them were included. There were three inspiring lectures too, by Elizabeth Dackson (Don't Call Me Betsy), Alexia Abbeg (Green Bee - she wrote Liberty Love), and Maddie Kertay (BadAss Quilters Society). Saturday night was another free sewing night and I lasted almost till midnight, sewing and visiting.

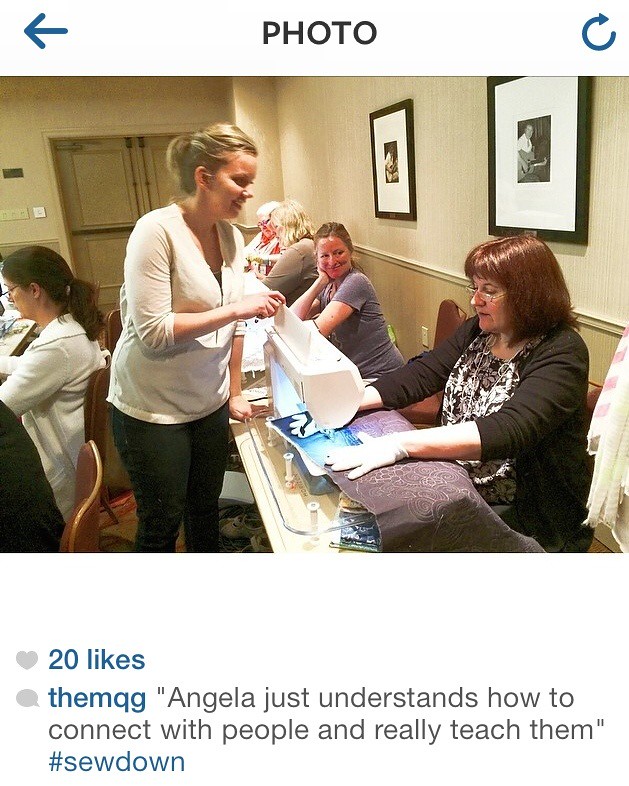
Angela Walters - Sewdown Nashville

Sunday morning Angela Walters shared free motion quilting tips and designs. I was especially looking forward to this class, given all the quilting I have been doing.


Angela Walters and me - in class, Sewdown Nashville

There I am on instagram with Angela. I really enjoyed this chance to learn more about fmq designs and Angela is a wonderful teacher.

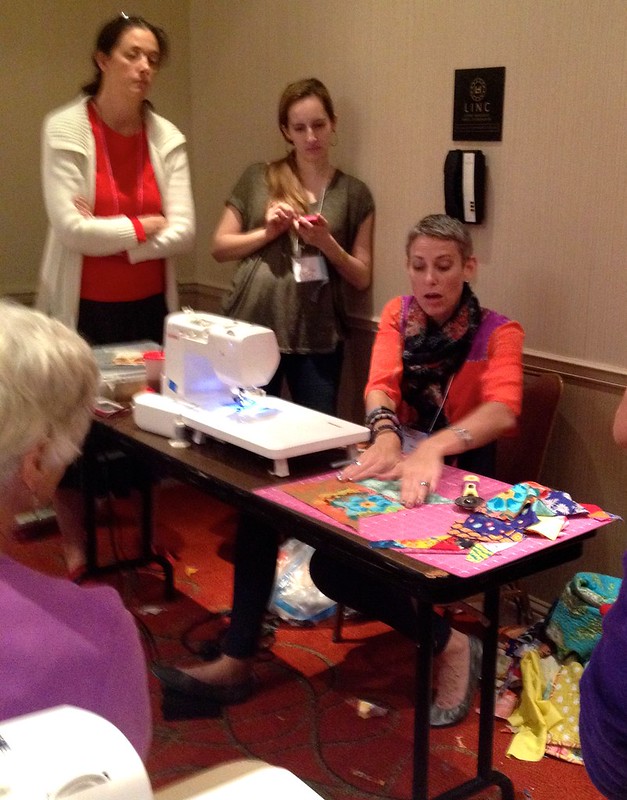
Victoria Findlay Wolfe - in class, Sewdown Nashville

On Sunday afternoon, I got to Play with the fantastic Victoria Findlay Wolfe. Victoria taught us many techniques, and encouraged us to be creative with fabric and design.

Victoria and Rene - Sewdown Nashville

There is Victoria with Rene.

Carolyn Friedlander, Anna Maria Horner, Victoria Findlay Wolfe - Sewdown Nashville

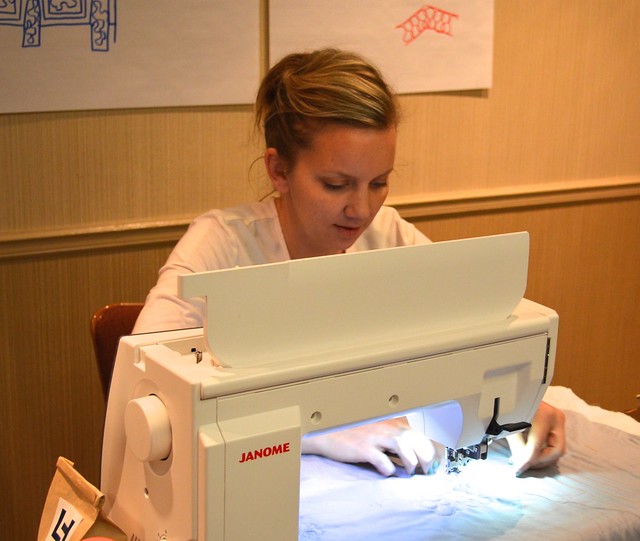
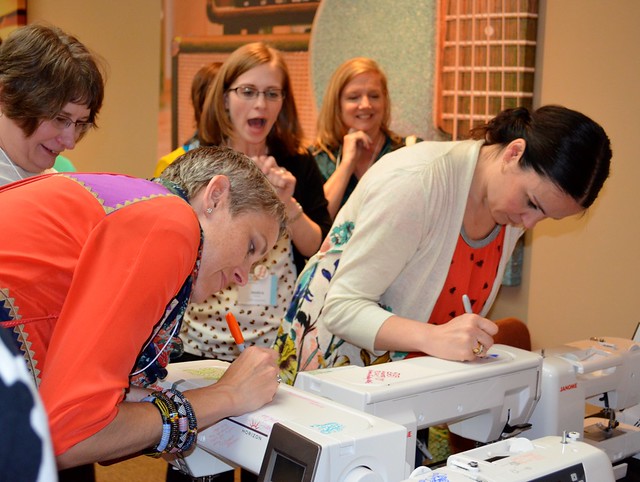
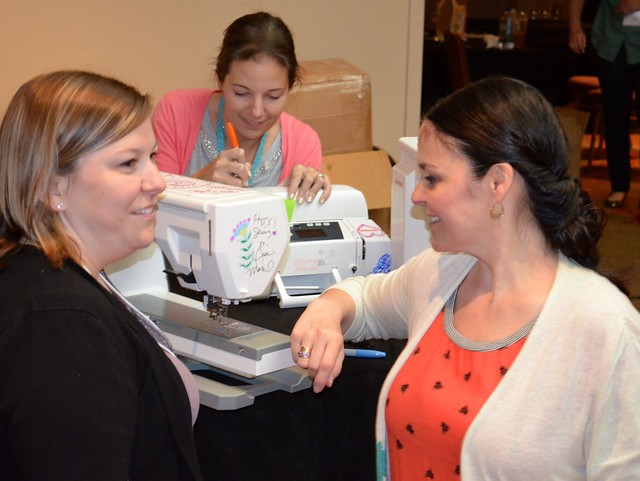
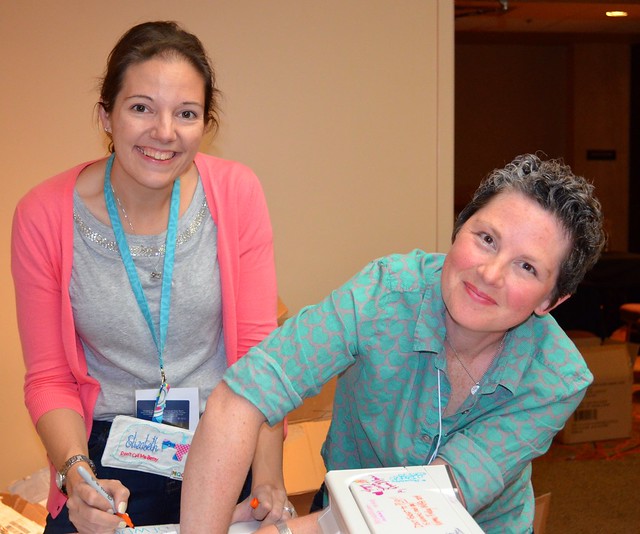
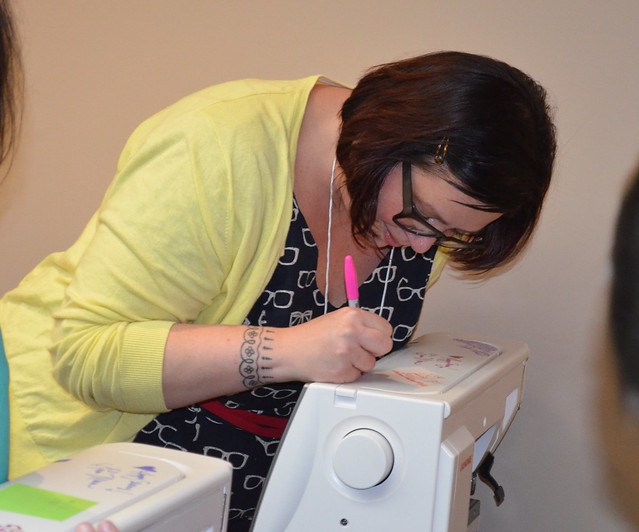
Janome, together with a local Janome dealer, sponsored the weekend and provided two models of sewing machines for everyone who wanted to use one in all the classes. There were two Janome trainers present the entire weekend who were fantastic and fun too. Several folks bought a machine, and at the end of the weekend, there was a flurry of machine autographing.

Victoria Findlay Wolfe, Anna Maria Horner, Rene - Sewdown Nashville

Of course, quilters and designers had all the sharpie colours out.

Anna Maria Horner, Elizabeth Dackson - Sewdown Nashville

One of a kind sewing machines were created.

Elizabeth Dackson and Heather Grant - Sewdown Nashville

There is Elizabeth Dackson and Heather Grant. Elizabeth, Heather and Jen were the Modern Quilt Guild hosts of the weekend. I cannot say enough things about these women. They are dedicated, funny, helpful, interesting and inspiring. And they all worked hard, every minute of the retreat, so that everything went well all of the time.

Jen Carlton-Bailley - Sewdown Nashville

Jen signing Rene's machine. (And no, I did not buy one, I already have a Janome Horizon which I use every day.)

Shelby, Carolyn, Rene, Victoria, me, Beata - Sewdown Nashville

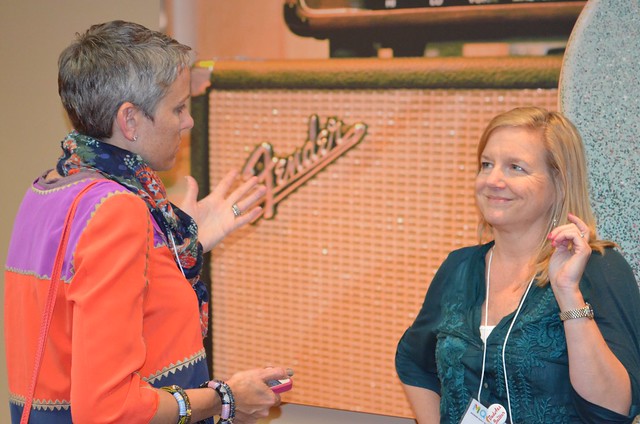
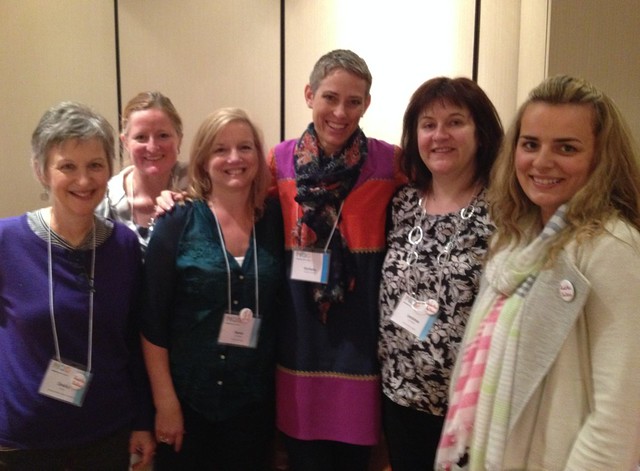
This is the group I spent the most time with. Shelby, Carolyn (Carolyn was my sewing partner, I would love to sew next to her anytime), Rene, Victoria, me, and Beata. I really had the best time getting to know these lovely women.

So, yes, I had a wonderful time. It was a lot for one weekend, and like most folks coming home from a retreat, I felt overwhelmed for a few days. I would totally go again - the smaller but not tiny retreats work really nicely for me, with lots to learn and many but not too many people to meet and get to know.

Thank you to Jen, Heather and Elizabeth and the Modern Quilt Guild. Thank you to Janome and Soak and the sponsors who filled the goody bags.

And thank you to Nashville, everyone was so friendly.

I hope you are having a lovely Easter weekend, I am sewing and tidying and today I have to work a bit, because tomorrow I am off to Vancouver. When I am not working in my real job, I get to hang with my friend Krista (Poppyprint) again who is taking me to two different quilt guild meetings with her. I am so looking forward to that, I have not seen her since the Fat Quarterly Retreat in London last summer.

Best,

Leanne