Pages

Saturday, March 29, 2014

Nordika Giant Plus - Ta Da!

Nordika Giant Plus

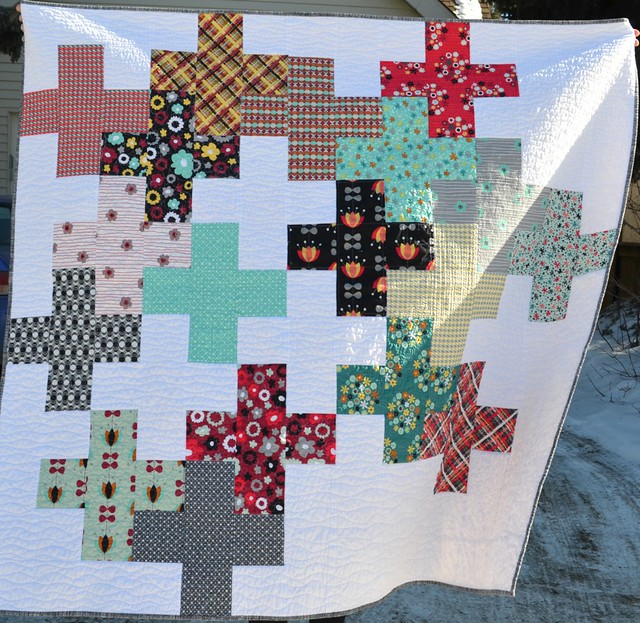
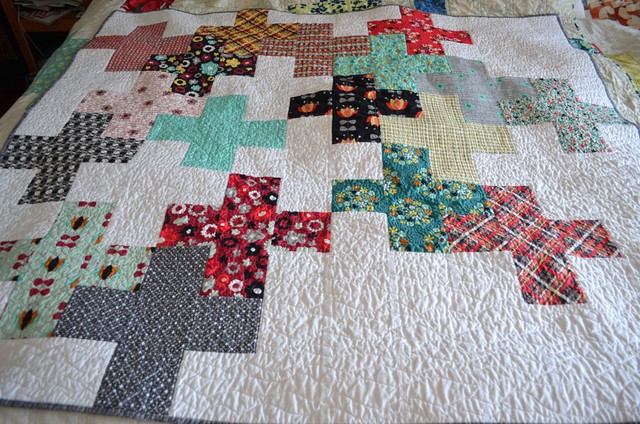
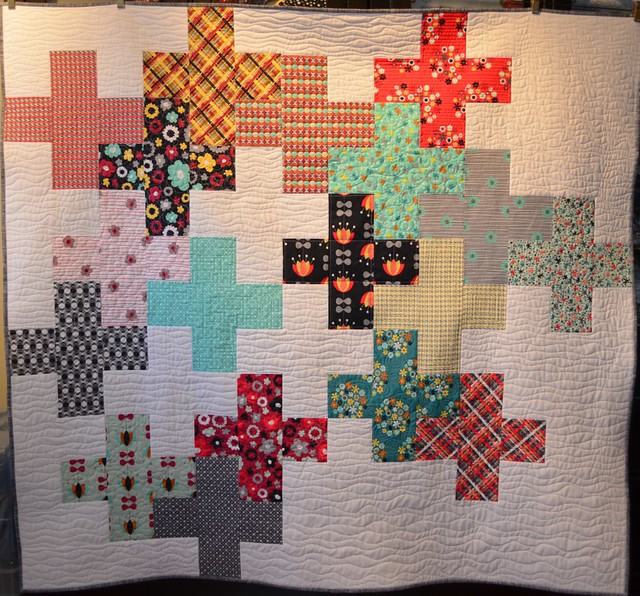
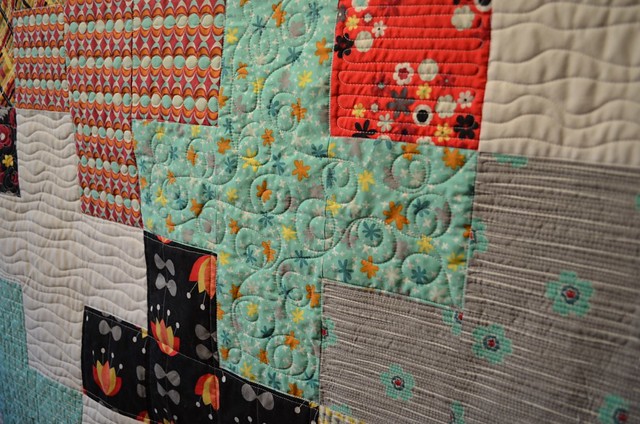
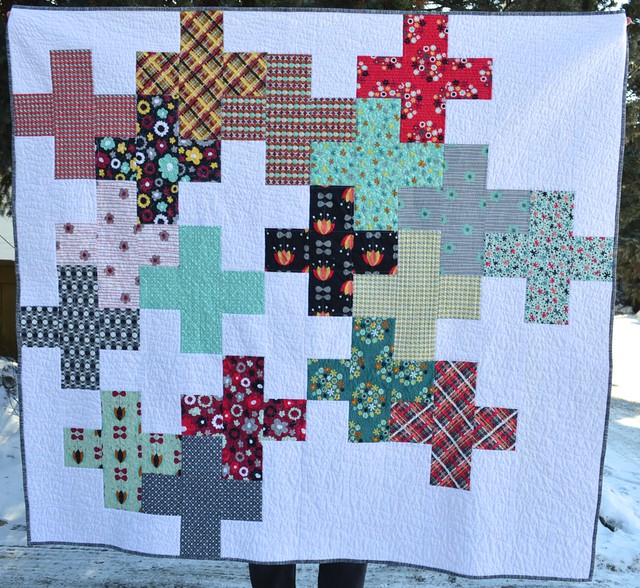
This is my Nordika Giant Plus. She was made with Kona white and a set of fat quarters from the Nordika fabric line. I finished her a while ago now, at the beginning of March but somehow I kept putting off showing her off here.

Nordika Giant Plus

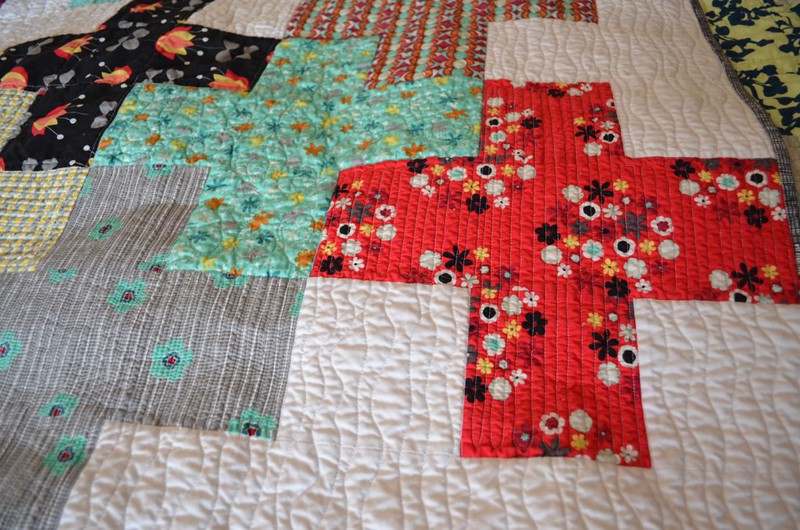
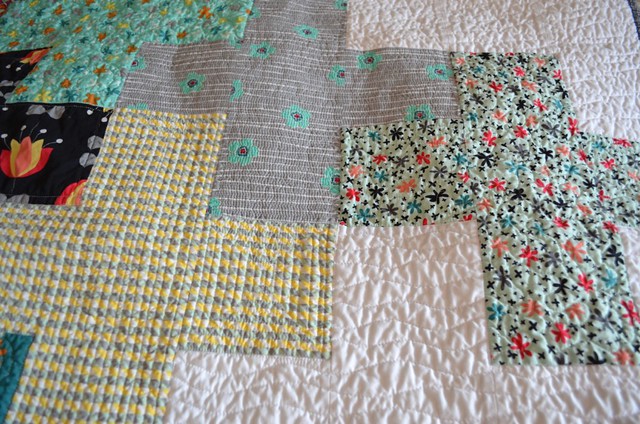
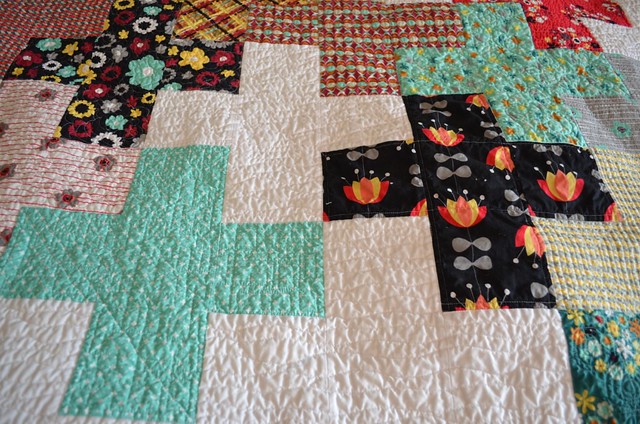
These first pictures are after a wash and dry. One of my worries getting the long arm machine was that the detailed quilting would disappear into the after washing bumps. I am so pleased to see that it does not do that.

Nordika Giant Plus

This quilt was the first one I quilted with my own new long arm. She is a sampler of quilting patterns I know or wanted to try.

Nordika Giant Plus

I learned that I am better at some designs than others.

Nordika Giant Plus

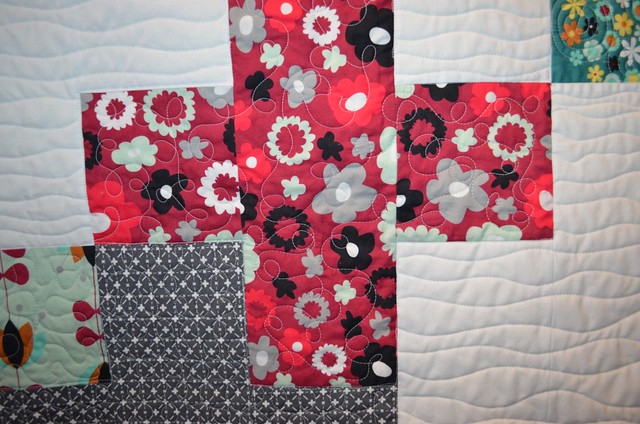
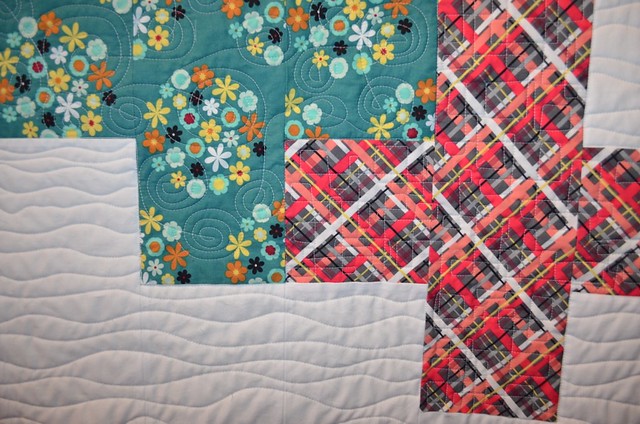
I am totally sold on wavy lines as a quick and easy filler for backgrounds. You are going to see them on a lot of my quilts.

Nordika Giant Plus - back

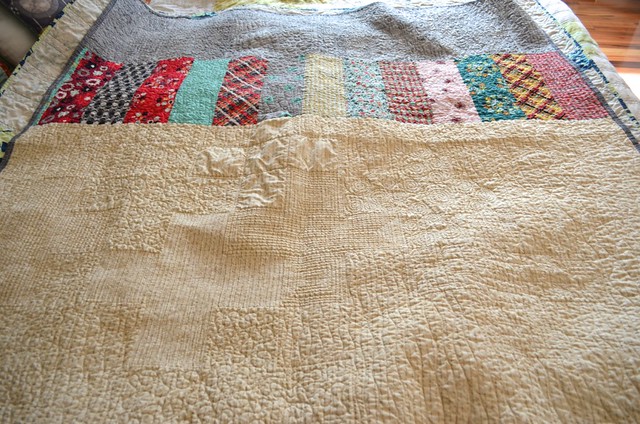
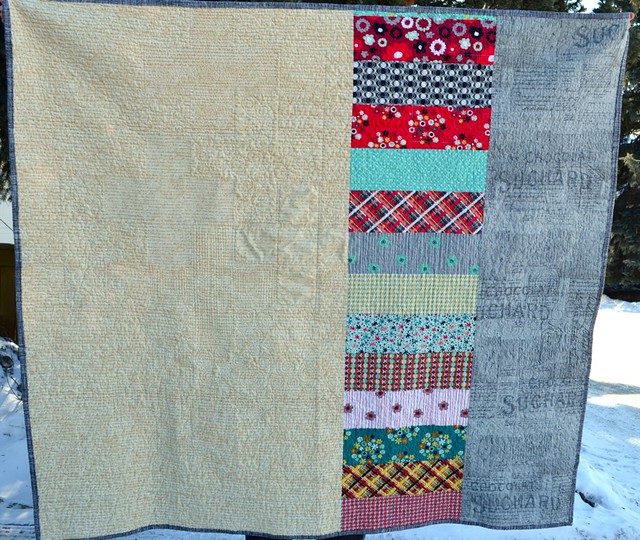
I so pleased that the quilting shows so well on the tea dyed text print on the back.

Nordika Giant Plus - back

It also shows up nicely when the quilt is being held up.

Giant Plus - before washing

These next photos are before washing. The quilt is "flatter" and more cardboard like but you can certainly see the quilting better.

Giant Plus - detail before washing

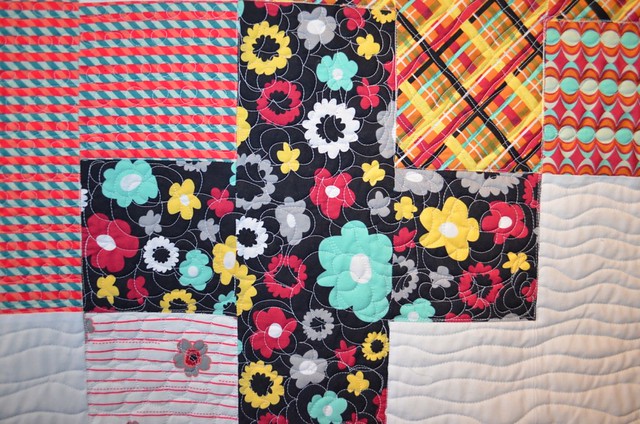
I really like that double loopy loop, and of course the dense matchsticking quilting in the grey plus.

Giant Plus - detail before washing

That is supposed to be flowers in the black background flowers. That design needs work.

Giant Plus - detail before washing

It will  be a while yet before I tire of showing off my beginning quilting. I hope you don't mind.

Giant Plus - detail before washing

The square stipple is another favourite of mine.

Nordika Giant Plus

And one last photo after the wash. These were taken a few weeks ago, we have less snow on the ground today. I am still planning to make a pattern for my version of this simple quilt, I really like the layout where you don't fill in all the pluses.

Finish Along 2014

This quilt is my fourth finish from my Q1 FAL list (which is here). I hope you are getting your last finishes in too - I can't believe that March is just about done, it will be spring soon.

Best,

Leanne

Thursday, March 27, 2014

Decipher Your Quilt - Identifying the 9 Patch Block

This week we are deciphering the 9 patch block, which is a big favourite of mine.

Jess, from Elven Garden Quilts, is going to explain how you do the math behind a nine patch block, so don't forget to read her post too.

What is a 9 Patch Block?

For DYQ, we are looking at ways for quilters to be able to figure out their own blocks, so we will focus on blocks with patches - often called units - of equal size (there can also be blocks with 9 parts that are not equal sizes, that is not what we are calling a 9 patch block, I'm not sure what the quilt police would say but it is good if we are all on the same page here).

How do you find a 9 Patch Block?

You are looking for a block that repeats in a set of squares that are 3 squares by 3 squares. If the repeat is more than 9 squares, you might have a 16 or 25 or more patch block instead, and sometimes that is tricky to see.


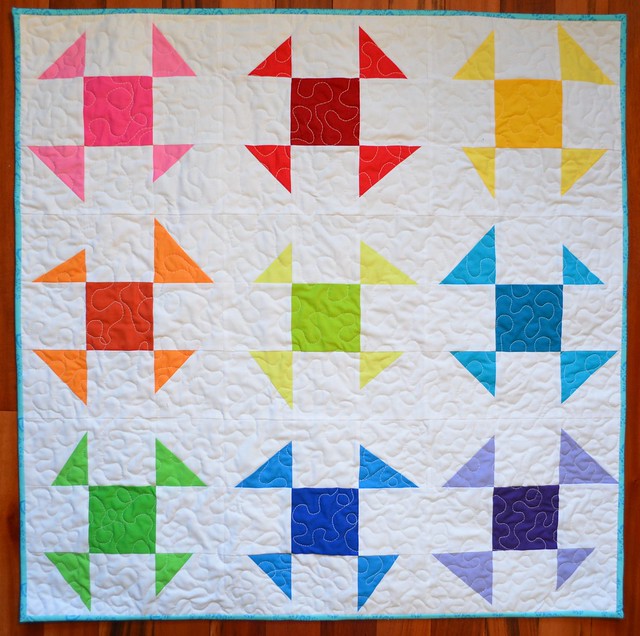
Let's look at the Shoo Fly block. This block always looks like dancing Snoopy to me, it is just the happiest block. It is an easy to make 9  patch: 4 HSTs, one coloured square, four background squares. If you put it in a quilt, what do you get?


When I look at that image, I do not readily see the shoo fly, I see square borders with a diamond unit in the middle. Often with a quilt repeat, you need to take your eye back to a corner of the repeat and then you can see the repeating block.


And you can see, even if we colour the block with modern fabrics, it can be no easier to see. If you made all the shoo flies different colours they would reappear in this mosaic but it you did them totally scrappy so every part was different, they would disappear again. You can see the different effect even if the shoo flies are made in an improv manner.

Liberated (emergency) Baby Quilt before washing

The other thing that this exercise shows you is the other patterns, often called secondary patterns, that emerge. When you are doodling, consider drawing a page of a single block and then colour it different ways to see what different quilt designs you can achieve with one block.


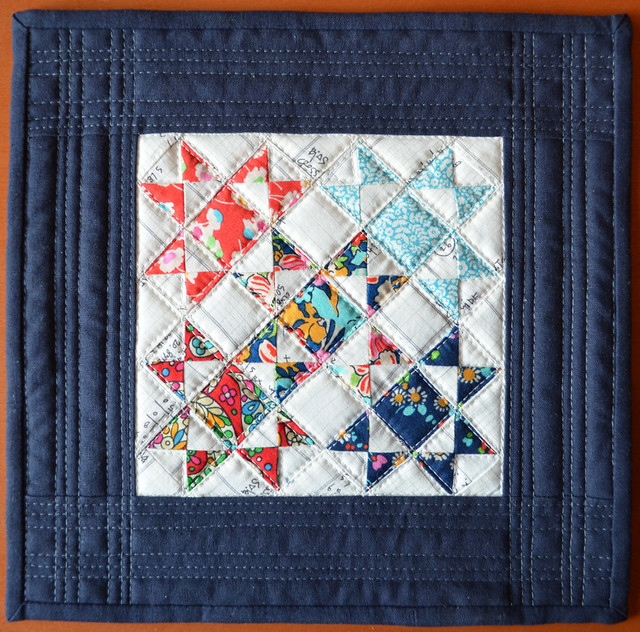
Here is one of my all time favourite blocks, the Ohio Star. You can also make it with a third colour in that triangle surrounding the centre square. In a quilt:


Do you see stars, or do you see a wonderful tile floor mosaic - notice that this rendition of the ohio star uses three colours? Again, go to the corner and pick our the repeating 9 patch ohio star.


The look changes again when you put the two colour block into a mosaic. Do you see with this image, how you might look at this quilt and think that you need to make a square and surround the squares with borders. But if you go to the corner you can see the star again.

A trivet

You can see in this trivet that you can achieve yet another look by nestling the stars closer together - they share one set of points with the centre star - and colouring the stars differently.


How about a simple nine patch. You will notice that I have coloured this one differently than the "usual".


In a quilt, especially if the darks are all the same, it looks totally different - again squares with sashing, like a tile floor.


Even more so with a coloured block. You have to really look hard to see the nine patch here.


DQS11 Quilt, finished, and in the mail, hope you like it partner!

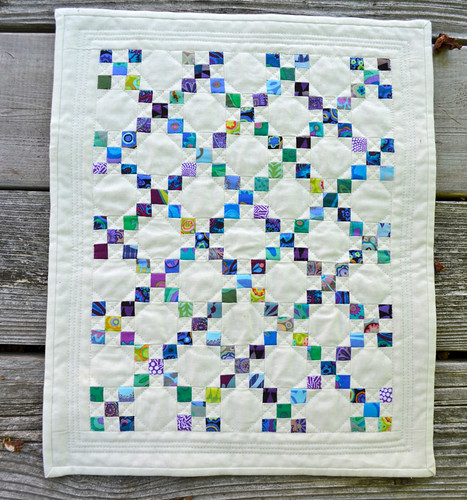
If you colour the nine patches more traditionally, you end up with a traditional quilt called an Irish Chain. That quilt was a mini for a swap - the squares are all 1/2" square. Even in this quilt, if you don't go to the corner, you might not readily see the simple nine patch block as the repeating block.

Here are some other of my favourite nine patch blocks:


The Churn Dash.


I see so many different ways to colour that quilt, think of what can be achieved with a simple set of nine patch blocks.


The Friendship Star


One thing I should point out in these photos of the blocks I have been making - I cropped off the seam allowances so I could put them into mosaics and we could see how the quilt would look sewn together. In real life these blocks have 1/4" of background fabric around their edges, to allow me to sew them to the next block without losing their points.


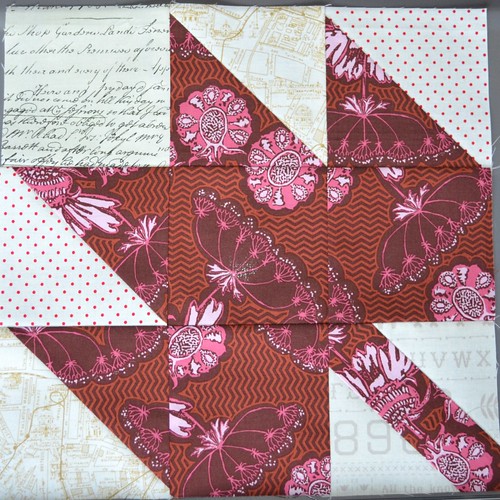
The Maple Leaf

Modern Maples block for Marci

Last month I made Maple Leaf blocks in one of my bees and I know that Jess is making an oversized maple leaf block quilt this week.


This last one is callled a Jack and Six and Barbara Brackman's Encyclopedia of Pieced Quilt Patterns says this block was by Nancy Page. It is a variation of the Contrary Wife block.


For a project this week, I have two options for you. You could just decipher some blocks on your own and join me in making blocks for a DYQ sampler. I could not talk about these blocks without making some, in all different sizes.


There is my instagram photo from the weekend showing the blocks I have made so far. I am making them to be 6.5", 9.5", and 12.5" unfinished. At the end of the DYQ series I will give you some help putting different sized blocks together, but it is easier to do if you keep them all in multiples of the same number - I am using multiples of 3" finished blocks. 

If you decide to join me, try making the blocks without help, using the DYQ math and ideas but do let us know if you get stuck, Jess and I are happy to help. 

New Leaf Ohio Star

Another project is this Ohio Star in Star, you can find my tutorial by clicking here. One of the tricks in this tutorial is how I avoided some difficult quilt math by sashing that inner star - given that the inner square finishes at 4" for this 12" block, and it is harder to divide 4 into three equal parts than three, I made a 3" Ohio Star and sashed it up to 4".

Please share your projects or blocks with us in the Flickr group or tag them #decipheryourquilt.


We are back the week after next - we are taking the coming week off from DYQ -  to talk about 16 patch blocks.

Best,

Leanne

Tuesday, March 25, 2014

Snowfall - Ta Da!

Snowfall

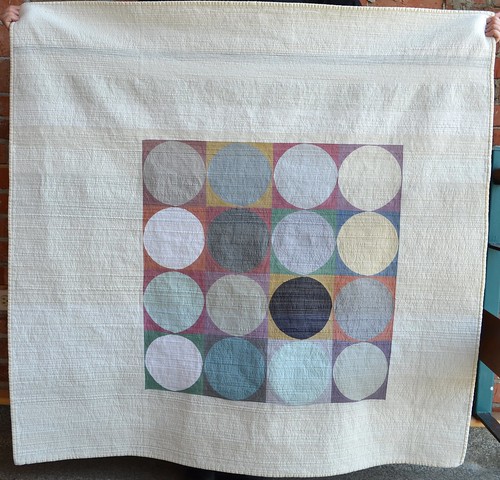
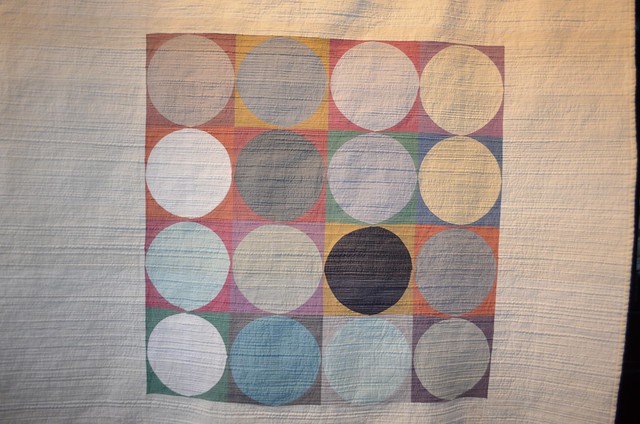
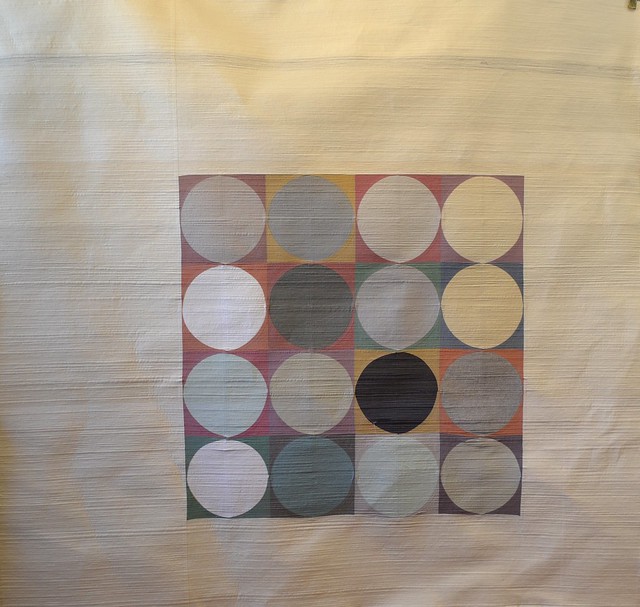
Here is Snowfall. She is the largest quilt so far in my series of cycles quilts (you can see Cycles here, Cycles 2 here, and Sunset here) and is about 49" square after washing (she was about 52" square before the wash).

The backgrounds to the circles are made from a beautiful bundle of Oakshott Italy fabrics - a shot cotton with one thread in silver grey and the other in a colour so they are soft and muted. The large negative space is creamy snow coloured Essex Linen as is her binding. The circles are various Essex linens, Kona solids and one yarn dyed linen.
Snowfall

I hope that maybe as you look at Snowfall, you will be reminded of standing in a heavy snowfall of big fluffy snowflakes - you know the kind of snow that comes down wet and heavy in a soft flutter to the ground with no wind. When the snow is thick like that it blocks your view and you see bits of colours peeking out around the whiteness and everything seems muted. Usually, when the there is no wind, in such a snowfall, sounds are also muffled by the dense snow, and the world seems so much quieter.

Snowfall

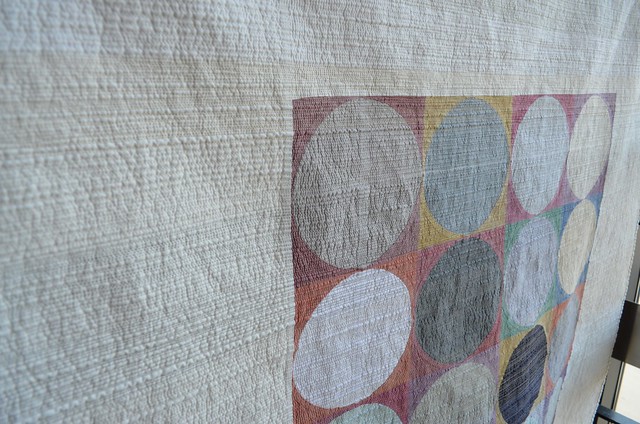
Snowfall has very dense industrial modern matchstick quilting which I did on my new Millennium long arm quilting machine. I learned to walk with the machine, to not "over-steer" her so that the lines stayed relatively straight and to use a speed that allowed me to go both left to right and right to left (right to left is harder to avoid thread breakage).

I used several different threads in white, cream, gold, light tan, and grey. All but two were polyester, I need to practice more with cotton threads and this new machine to get the tension right for cotton threads. The subtle - and not always subtle - changes in thread colour add another dimension to this piece.
Snowfall

This time I was focused on getting the lines relatively straight, the thread tension nice and even and not having broken threads. Next time I matchstick quilt on the long arm I will work at wobbling the lines just a little more. For now, I am so happy that I can matchstick a quilt this large on this new machine.
Snowfall

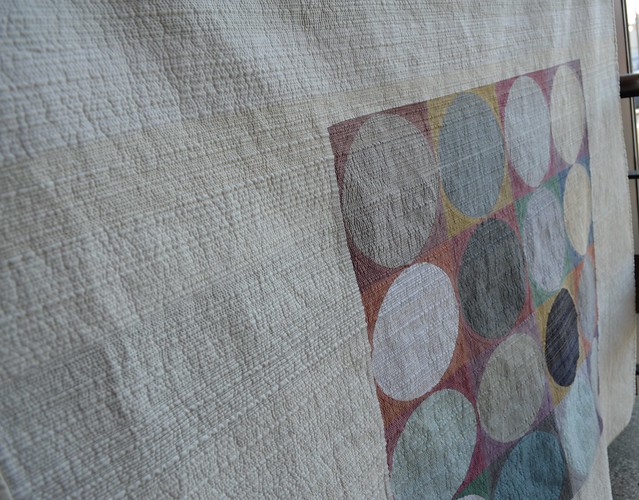
The pictures above have all been from after Snowfall was washed. The added texture completes this piece, which was my plan. Like all the cycles quilts, it is a huge challenge for me to keep to these simple elements - to stay minimalist and keep the lines clean and very geometric - I so want to add more.
Snowfall

This picture was taken in different light, you can see how the colours will change depending on the available light. I love how from a distance the quilt appears quilt neutral but when you get close you see the rich hues of orange, purple, green, red in the Oakshotts. In person, the Oakshotts have the usual shot cotton glow, which is nicely complimented by some of the more shiny polyester threads.
Snowfall - back

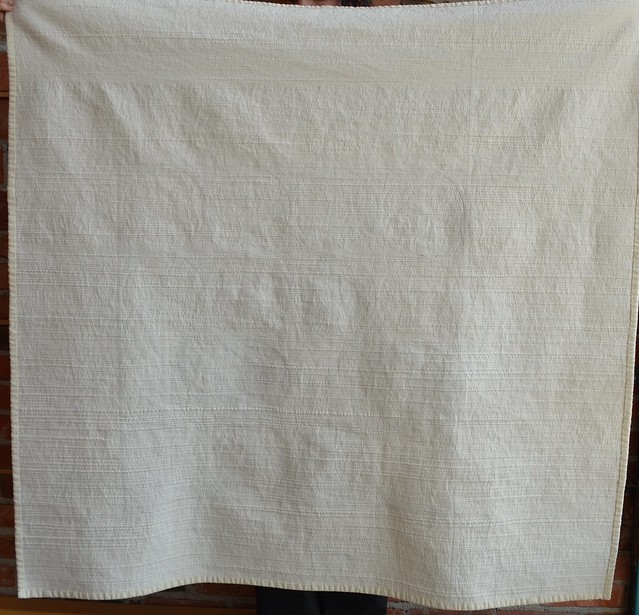
Her back is Kona snow, which is basically the same colour as the Essex Linen on the front. The binding is actually a tiny hint darker. I hand stitched the binding down. I love how the back has the hints of the circles from the seams which show through due to the dense quilting.
Snowfall - before washing

This photo is of Snowfall before I washed her. Lots of texture but nothing as interesting as you see after the wash. Also, she was much stiffer before I washed her, more like a light cardboard than the subtle blanket she now is. You can see the crinkles, almost like crinkled paper in this shot, which I took after taking her off the long arm frame.

Snowfall - before washing

I had not even trimmed the batting in this photo, the crinkles are just from the small move off the frame. In this photo you can see how the dense quilting impacted the piecing just a little, that impact increasing just enough to notice at the bottom. That effect just adds to the industrial modern look I think.
Snowfall - before washing

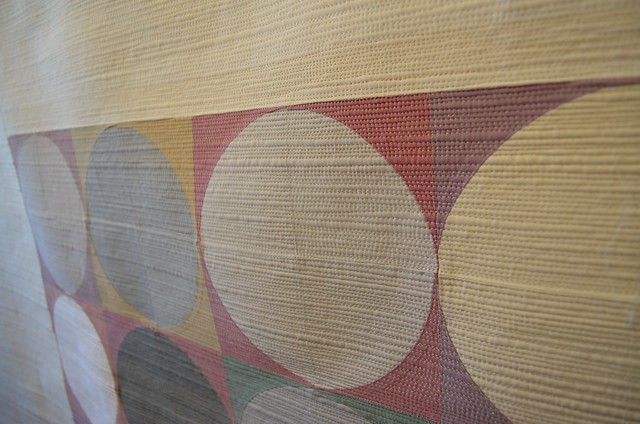
You can compare the close up shots before the wash to those earlier after the wash to see the changes washing adds. Also, although I found that I was mostly stitching pretty straight lines, I did vary the width slightly for more texture and interest. I set the machine to the longest stitch and I did use the stitch regulator, I only wish it would make slightly longer stitches - I wonder if I could become consistent enough in non-regulated mode to make even stitches in lines like these. Other than the stitch regulator, I hand guided the machine to free motion quilt the lines - there was no computer assisting and no pantograph used.
Snowfall - before washing

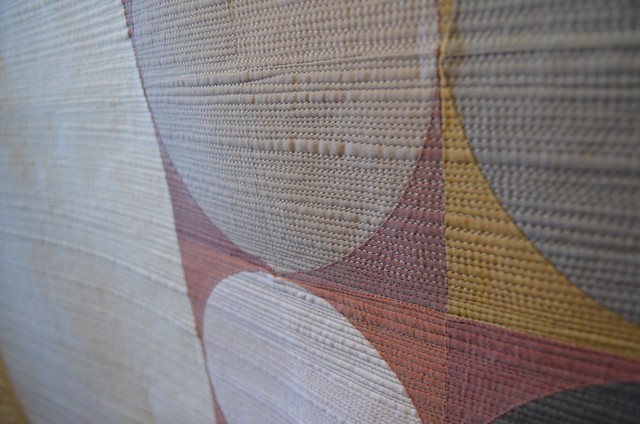
My favourite parts are those diamonds where the circle backgrounds meet. You can see nicely in this photo how the dense quilting makes the underlying seams and lumps where the seams join show. More industrial modern texture - think of brick walls and steel beams and such, in those buildings peeking out in the middle of that snowstorm, as you stand in the heart of the city.
Snowfall - being quilted

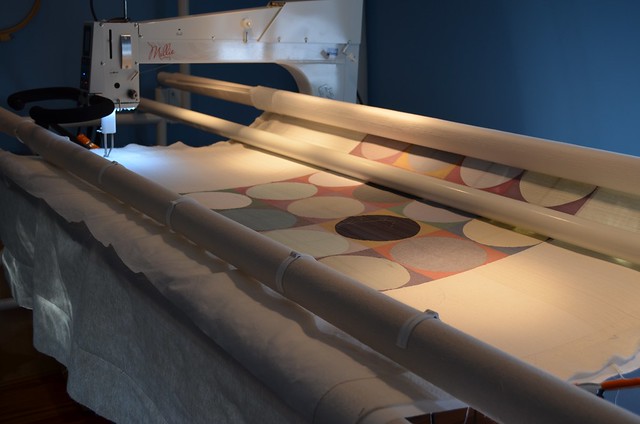
There is a photo of Snowfall still being quilted. She did look pretty on the quilting frame.
Snowfall

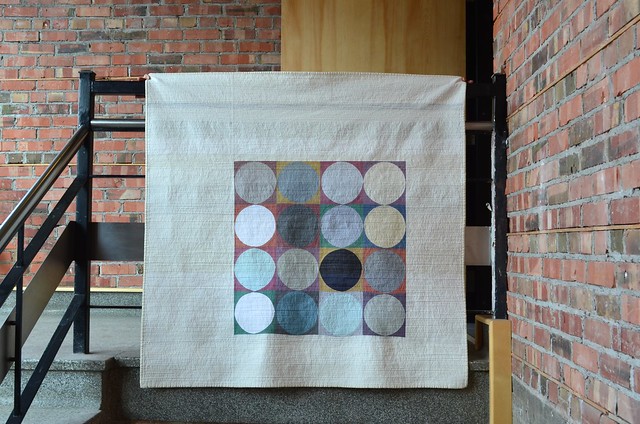
And here she is in the stairway of my office's building. There are large two story windows on the left, just out of the photo, which makes this a great place for photos - loads of light but not directly on the quilt. Also, this setting is exactly the kind of industrial modern vibe I hope you get from this quilt.

A Lovely Year of Finishes 

And, in addition to showing her off, I get to check off my March list from A Year of Lovely Finishes as complete and I will link her up at Shanna's blog Fiber of All Sort now.

Finish Along 2014
Snowfall is also a Q1 Finish A Long finish too and I will be linking her up at Katy's blog, The Littlest Thistle,  shortly as well. Here is my Q1 FAL list.
Best,

Leanne